

- Most Recent Photo
- 07-08-2010
- Series
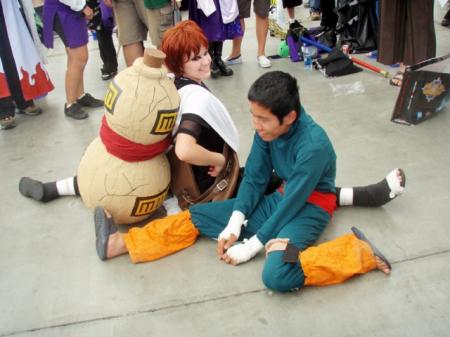
- Naruto
- Character
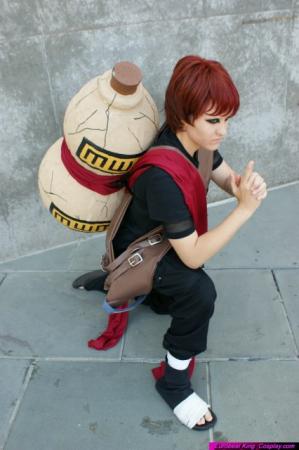
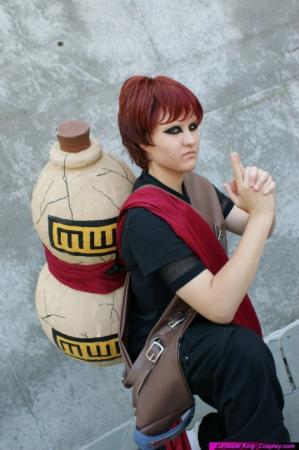
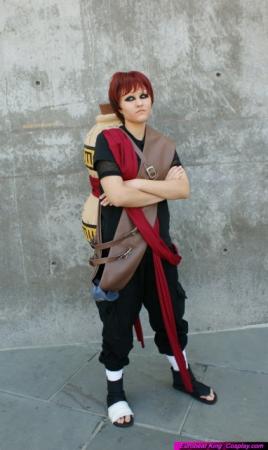
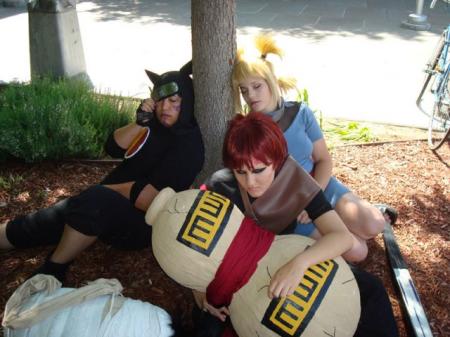
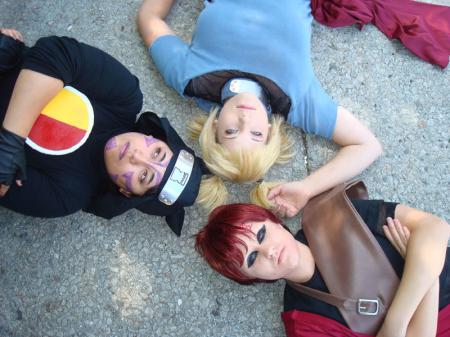
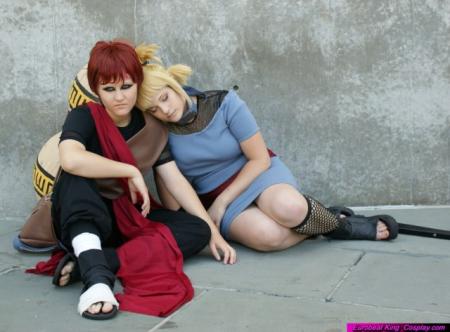
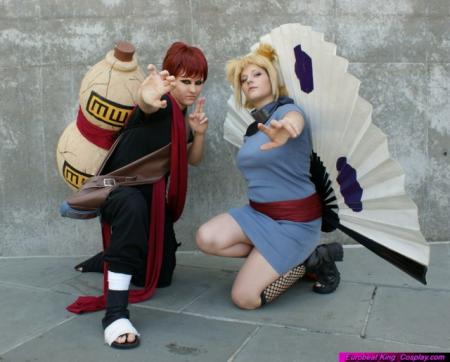
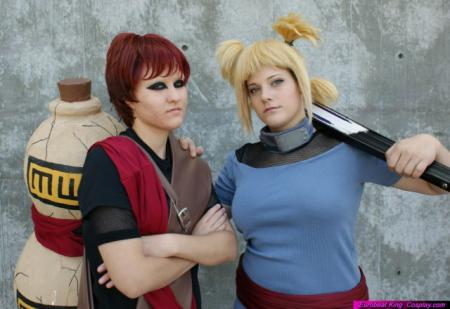
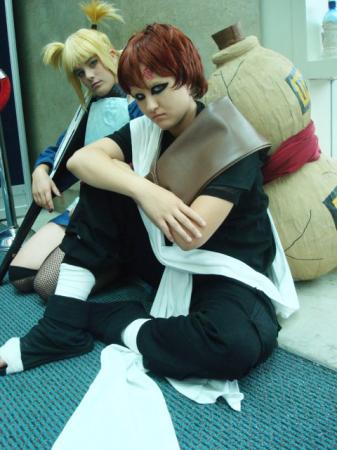
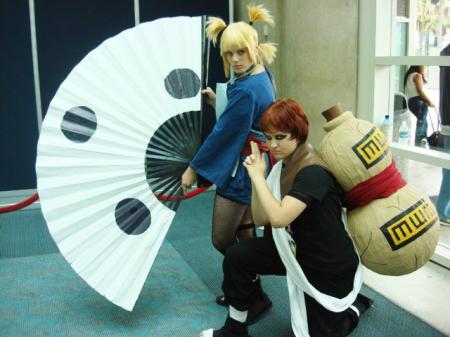
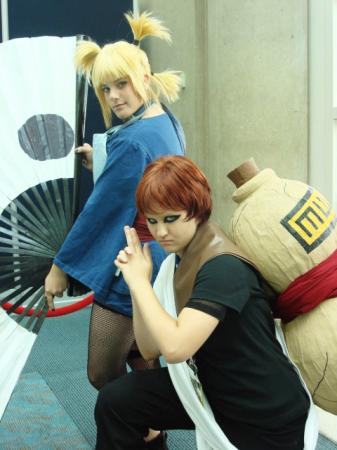
- Gaara
- Year Completed:
- N/A
- Construction Difficulty:
- Easy
- Costume worn at:
- Anime Expo 2007
- Comic-Con / San Diego Comic Con International 2008
- Comic-Con / San Diego Comic Con International 2007
- FanimeCon 2009

- Construction Details:
-
My family and I almost made everything of it! We worked so hard! From October, 2006 to March 30, 2007 to make!
Costume Construction This costume is my most expensive costume I have made. For the makeup I used a black eyeliner pencil and black eye shadow for the "raccoon" eyes. Most of the time, I used eyebrow plastic to cover up my eyebrows. Then added powder and foundation. Once I did plucked all my eyebrows out for this costume. I looked wierd for a while, but they did grow back and it saved me from having to deal with the plastic. The heat makes the plastic crack a little. For the "ai" character I used a red lip liner. The wig is from http://store.wowwigs.com/poetry.html in the color chili pepper. I used http://www.pettingzoowigs.com/wigsupplies_dye.html's cherry red wig dye to get it even redder. The last time I worer it I dyed it even more red with a sharpie. If I were to redo this costume, I would have bought a cheaper wig in a blood red color. I bought the knit shirt at Hot Topic and cut the sleeves short. The black shirt was made by my mom using a T-shirt pattern. I bought black martial arts pants that had ribbed cuffs at the ends. We added pockets to the pants and snaps to the pockets. My mom figured out how to make the pockets. For the belt, we used vinyl and sewed two pieces together and then sewed the ends together. Each strap is made out of one thin piece and folded and glued together. Then the part that goes through the buckle is a separate piece. The buckles came from little boy belts that I got discounted and cut up so I could use the buckles. I sewed the straps onto the large piece. It was really thick and thus hard to sew. The sashes are three pieces. One connects and wraps around me, while and the other two hang in the front and back. They are pinned on to the belt. I also made the red manga version sash with a matching red headband instead of the blue anime headband which I use for the white sash. The sandals were made with the aid of a tutorial. My mom and sister basically made them for me because, they had all ready made the leaf sandals before. My father painted the one dollar pink flipflops to black for me. Then I added the white cloth around the toes of the right one. The gourd was made from a beach ball and large bouncy ball that comes out in the spring-summer months at Wal-Mart. I taped them together really well, going from the top of one ball to the bottom of the other. I made a neck brace-like thing around the middle using newspaper and tape. Then the gourd was paper mached and later plastered with plaster wraps. The lip and cork were made out of Styrofoam (donut shape for lip and a cut cone for the cork). They were plastered on and painted the proper colors. The gourd was painted sand color as well. I drew the MWM symbols on and they were painted with black paint. Lastly, I drew the cracks with a paint marker. Gourdy-kun is strapped on to me by a black rope that has loops so I put my arms through like a backpack. The belt and sash cover the loops. And the sash around the middle covers the rest of the rope. I have a link in my tutorial section if you want to read more about how I made the gourd.
- Personal Thoughts:
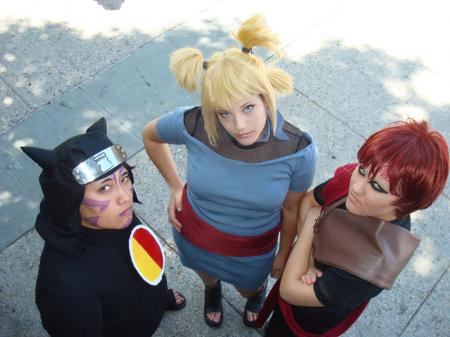
- Amanda is my lovely Temari. Gaara is so fun to cosplay as! It may take a long, long time to get ready but it is so worth it! : D This is one of my favorite cosplay! It is nice not having to smile when you pose. lol


Sorry, you must be a registered user of and logged in to view and add comments. Either log in or register now!