

ACParadise Network:
American Cosplay Paradise
American Cosplay Experience
American Cosplay Snapshots
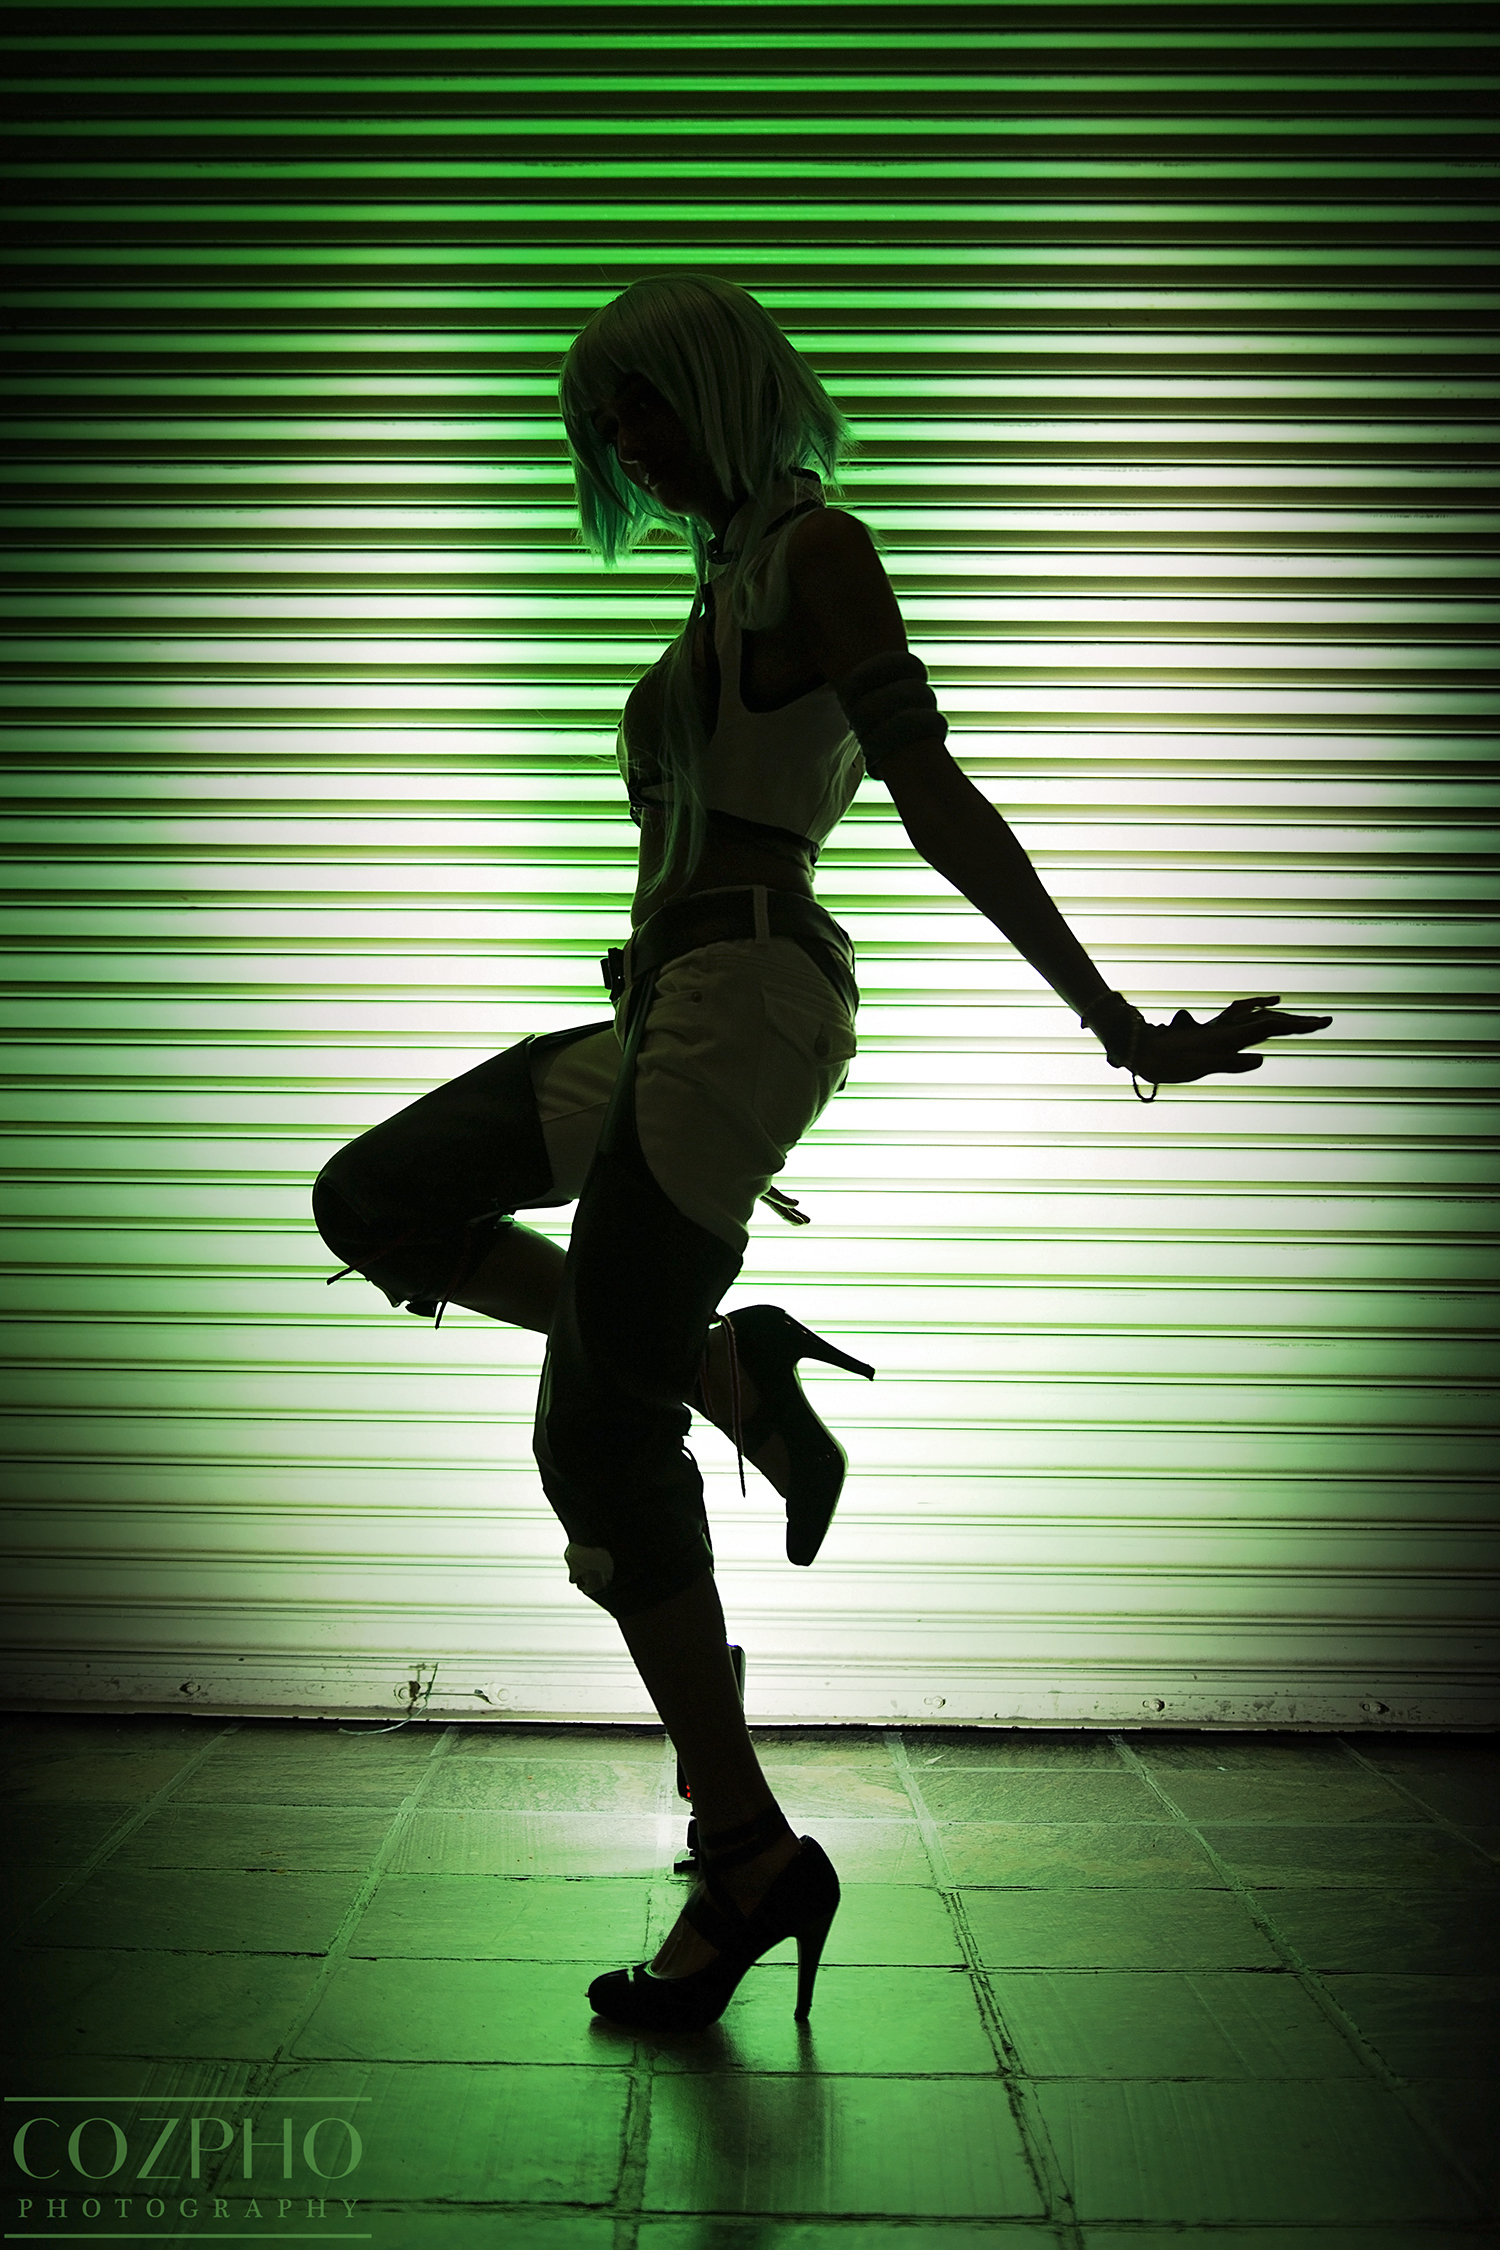
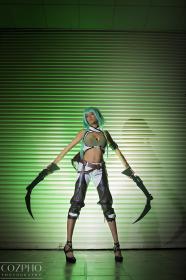
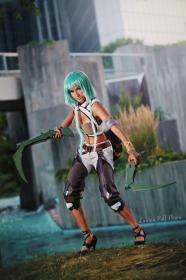
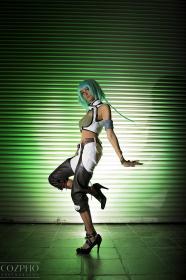
Cosplayer NekoNami > Costume of Emerald Sustrai (RWBY)
- Most Recent Photo
- 08-31-2014
- Series
- RWBY
- Character
- Emerald Sustrai
- Year Completed:
- 2014
- Construction Difficulty:
- Difficult
- Costume worn at:
- Katsucon 2015
- MAGfest 2015
- New York Comic Con 2014
- Otakon 2014
About this Costume
- Construction Details:
-
Top:
Materials:
White fabric (from Joann Fabrics) – 2yards
Black bias tape (from Sil Thread) – 3 packages
Black fabric (from Joann Fabrics) – ½yard
Double sided fusible web (from Joann Fabrics)
Light green knit fabric (from NYC Fashion District) – ¼yard
Wire
Snaps
The green bandeau was surprisingly difficult to make, mostly because I never work with knit fabrics. It was super annoying to make because the hem kept getting stretched no matter how I sewed it with my machine. So eventually instead of figuring it out correctly I just gave up :3 Good news is, I have a serger now so I can remake it correctly~! The u-shaped neckline at the top is made by reinforcing the hem with a piece of wire; otherwise it won’t hold its shape. No closures necessary, since it’s stretchy (yay~!).
The white top was completely MacGyvered. The back was made based on Professor Pincushion’s bodice back pattern (). The front… I literally made it up. I made a pattern based on my hands :3 Sooo yup. I essentially draped it on myself (if you want to make it seem fancy). The neck portions wrap around and attach via snaps so the closures can be hidden, and the under bust white section of the top splits in the middle and attaches with a snap. The edges were all sandwiched in black bias tape and topstitched. The applique was made by sketching out the emerald pattern on double sided fusible web, which was then fused to black fabric, cut out, and fused to the back of the top. I satin stitched the edges to keep it from fraying and to permanently fix it to the fabric.
Pants:
I didn’t actually make the pants because I was super lucky and had a conveniently perfect pair of white capris in my possession ^_^ yay~!
Chaps:
Materials:
Brown pleather (from Joann Fabrics) – 2yards
Dark brown stretch pleather (from NYC Fashion District) – 1yard
Coral red cording (from Pacific Trimming) – 2yards
Snaps
I patterned the chaps really basically. I measured the length from the waistband of my pants to under my knee, and then measured around my upper thigh and under my knee. I then sketched a rough pattern based on that, cut it out of muslin, and tried it on my leg. And yay~! It worked~! So that was nice haha. After that it was smooth sailing. I just cut out the pieces for the chaps out of the various pleathers and sewing yay~! … until my sewing machine decided that it didn’t like sewing through pleather or stretch pleather. And almost broke. I decided not to tempt fate and hand-sewed the rest (or, rather, fabric glued the rest). I also realized once I finished everything that my foot wouldn’t fit through the bottom opening, so I modified the bottom to open and close with snaps. I then cut four holes in the back of each chap to string the cording through (which I cut into four equal sections). When I wear them, I safety pin the tops of the chaps into position on my pants.
Gloves & Bracelet:
Materials:
Dark green knit fabric (from NYC Fashion District) – ¼yard
Stretch beading string
Tan beads
Dark brown beads
I totally MacGyvered the gloves as well. I traced my hand on a piece of paper and drew out what appeared to be a logical shape, cut it out, and saw if it worked (which it did). So then I made another one. For the bracelet, I simply threaded the beads in an alternating pattern onto a piece of elastic beading string. I then sewed the bottom middle of the necklace to the left-hand glove, and the top was made tight enough that it would stay up on my arm.
Armband:
Materials:
Light grey knit fabric (from NYC Fashion District) – ¼yard
Batting
I actually hand sewed the entirety of this armband while waiting overnight on Thursday of Otakon to get my badge first thing in the morning (eww). I essentially made a fabric sandwich and sewed three channels into it, stuffed the channels, and sewed it closed. And then I realized I used a straight stitch on stretch fabric and hoped to gosh it would slide up my arm, and yay! It did! Because apparently my hand sewing is super weak (which I suppose is fortunate in this instance haha).
Belts:
Materials:
Light brown pleather (from Joann Fabrics) – ½yard
Large belt buckle (from Pacific Trimming)
Small belt buckle (from Pacific Trimming)
Belts were pretty self-explanatory. I cut two strips of pleather, sewed them closed, and flipped them inside out, and pressed them. I then added the buckles onto each. The belts go on by buckles and are safety pinned to each other. I’ll probably sew them together properly one day. Eventually.
Weapons:
Weapons made by Katanabeatspaper Cosplay & Props (http://on.fb.me/1p7Sy3A). - Personal Thoughts:
- Making this costume was really difficult! The top required some strange patterning, knit fabrics hate me so the simple bandeau was an unexpected pain, and my old clunker of a sewing machine hates pleather so I had to hand-sew the chaps! Ohh dear O.o But my friend Katanabeatspaper Cosplay & Props made me an awesome set of weapons, so I knew I had to match up to his quality work somehow!
Wig Details
- Styling Notes
- I was absolutely terrified of this wig (which makes no logical sense after Nui and Jasmine) but I hadn’t cut bangs before so it was super intimidating. So I started off by trimming the long pieces in the front down to make the wig a proper bob. Then I sewed in some long wefts in the back for her long sections. And then, I cried a lot, bit the bullet, and cut the bangs. While it was on my head. Minutes before I needed to wear it. While still wearing my Handsome Jackie makeup. Oops. That was fun to clean up, but hey, it worked! I hope to one day polish the wig to a Sushi Monster level, but that’s not gonna happen anytime soon ^_^;;;
Add a Comment


 Upgrade Cosplayer
Sorry, you must be a registered user of and logged in to view and add comments. Either log in or register now!