

ACParadise Network:
American Cosplay Paradise
American Cosplay Experience
American Cosplay Snapshots
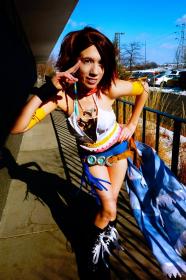
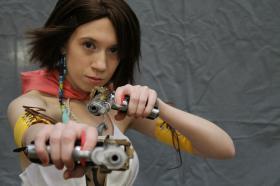
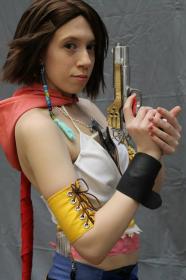
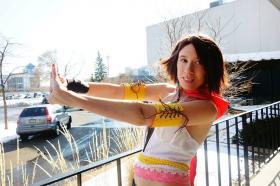
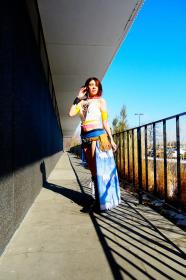
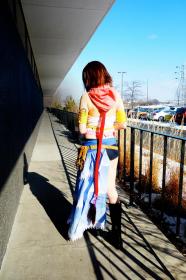
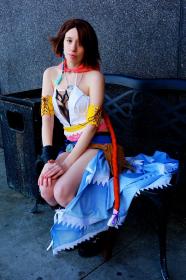
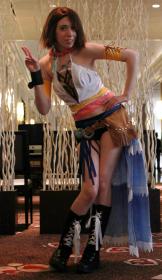
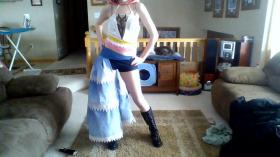
Cosplayer Spice-hime > Costume of Yuna Braska (Final Fantasy X-2)
- Most Recent Photo
- 07-01-2014
- Series
- Final Fantasy X-2
- Character
- Yuna Braska
- Special Variation:
- Gunner Sphere/ Default
- Year Completed:
- 2014
- Construction Difficulty:
- Difficult
- Awards
- Anime Detour 2014 - Best Craftsmanship Animinneapolis 2012 - Best Masters
- Costume worn at:
- Anime Central 2014
- Anime Detour 2014

About this Costume
- Construction Details:
-
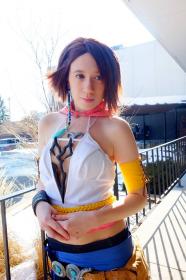
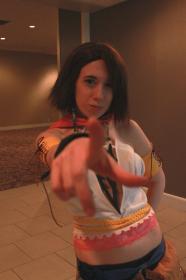
The shirt - My shirt was made with my own pattern. A zipper runs up the back and I pleated and gathered the portion around my chest to fit. The area around the Zanarkand Abe's symbol has white bias tape sewn down leading up to the hood where its passed through eyelets to act as the halter. For the pink lace portion I layered two different color lace on top of some pink fabric. After that it was joined to the main body of the shirt. My symbol is made out of wax paper and roughly ten layers of hot glue that was sanded and then reheated with a blow torch, once satisfied I painted over it with dark brown acrylic paint.
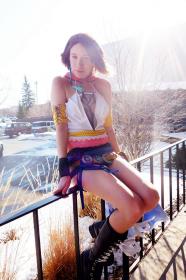
Shorts - I followed a legging pattern, because I was working with denim for the first time, I started out with the pattern at x-large and took them in until i could pull them off and on. I then added in a waist band completed with belt loops.
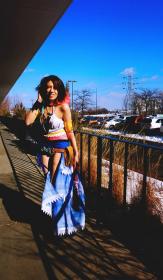
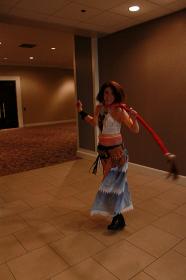
Half skirt- First time doing a faded dye and that was fun! :D Its five parts total; the three tiers, the base (darker bit up top), and lastly the ties. I actually had to redo the top base because originally it turned out to dark, so I tried bleaching it out, but the color didnt look how I wanted so redyed and all fixed. On the inside of the skirt I used heat and bond with white ribbon over to clean up the hem lines.
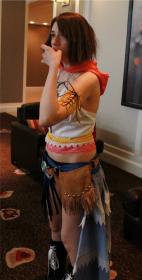
Belt- The buckle was made by taking apart two belts (one for the base's shape the second for the part that goes into the eyelet. Something was still missing so I used worbla to reshape it. From there I added glass pearl beads with hot glue. Then did some triple thick clear acrylic before painting it dark grey and then silver. The extra parts with the turquoise beads were made with worbla molded around a Monster energy drink can's bottom. I chose to keep the texture so they're paint first grey then silver. (My silver paint is rather thin so I did the dark grey to cover up the patterning lines and even out the color. Bead were bough at walmart and then glued in place for the top and bottom two, sewn in for the main bead to hold it to my belt.
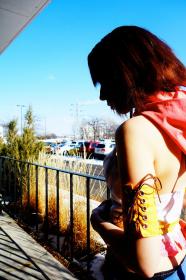
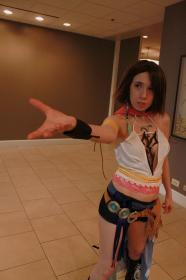
Yellow arm bands: both are two layers of yellow fabric cut and sew together (the bottom is heat and bonded) with eyelets added in and brown embroidery thread done across the top and bottom for the top stitching. Then add the ribbon and finished. ^^
Black wrist guard - I used thermo plastic for my base and then added worbla in the shape of the small arrows for the texture. Lastly all painted black.
Earrings - The main earring is carved from a wooden dowel then wood burned to get all the edges. Hand painted and sealed before it was attached to beads and a silver earring.
the other three earrings were all beaded according to my refs. then placed on false hoop earrings.
necklace - the main body was shaped with worbla then covered in silver clay, the small blossoms were shaped and to get the bottoms right shaped with scissors, and then I sculpted the rose. (The necklace is attached directly to the hood)
- Personal Thoughts:
- Complete remake from my first attempt! I'm so proud of it.
Add a Comment


Sorry, you must be a registered user of and logged in to view and add comments. Either log in or register now!