

ACParadise Network:
American Cosplay Paradise
American Cosplay Experience
American Cosplay Snapshots
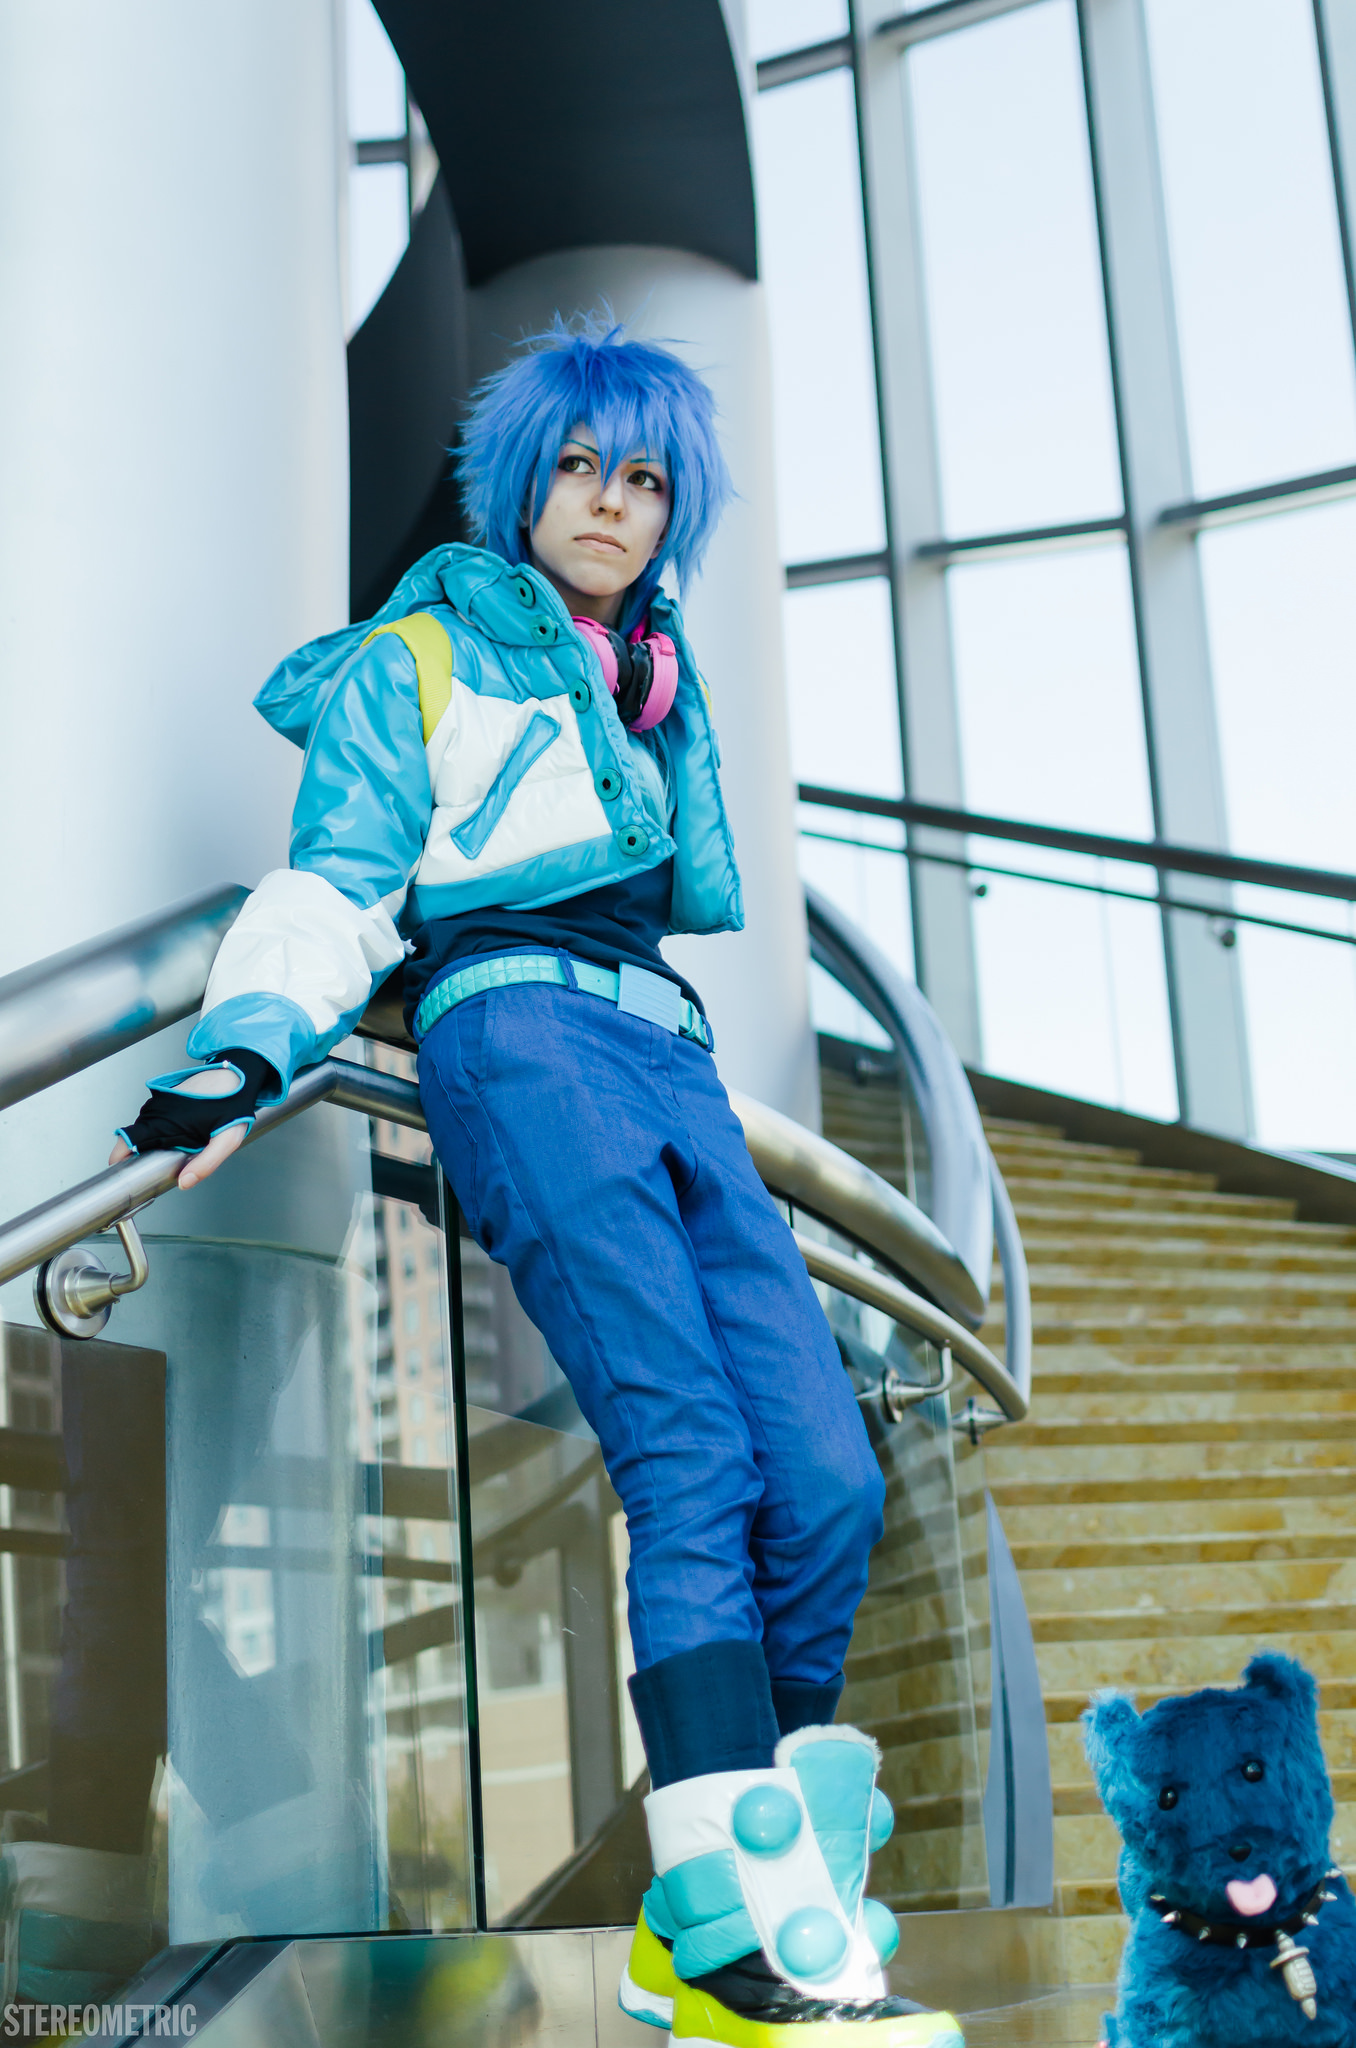
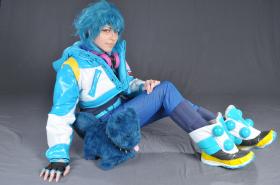
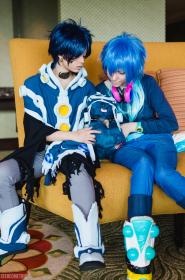
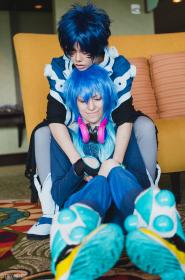
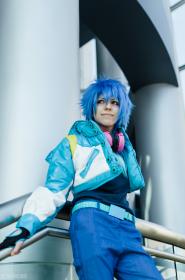
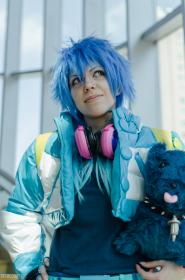
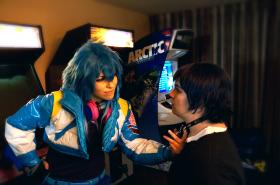
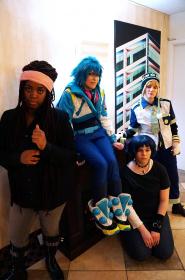
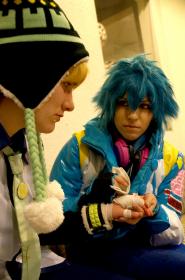
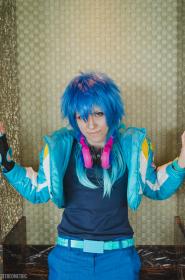
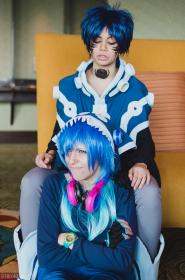
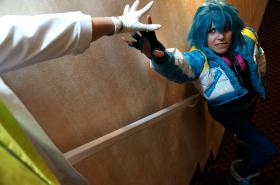
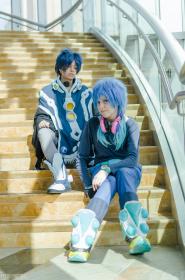
Cosplayer faecakes > Costume of Aoba Seragaki (DRAMAtical Murder)
- Most Recent Photo
- 03-24-2014
- Series
- DRAMAtical Murder
- Character
- Aoba Seragaki
- Year Completed:
- 2013
- Construction Difficulty:
- Difficult
- Awards
- 1st Place Master - DaishoCon 2013, Best Workmanship (Crossplay Runway) Ahn-Con 2014
- Costume worn at:
- Anime Matsuri 2014
- DaishoCon 2013
- Kitsune Kon 2014
About this Costume
- Construction Details:
-
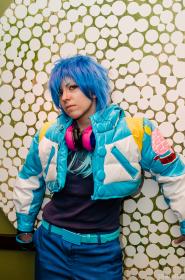
Everything touching my body I made (yes even the unmentionables you can't see)
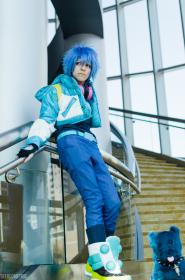
I will absolutely never make this jacket again under any circumstances. My sewing machine was an absolute trooper sewing up to layers so volumous the needle holder was pushing down the footer a whole centimetre because it was too high from the fabric. There are 2 layers of .75" fibre fill batting, 1 layer of warm company natural cotton batting, two layers of lining and various pleathers ranging from 4-way stretch pleather, to solid pleather, to upholestry pleather, all being quilted into this nightmare jacket.
I started with a base pattern and customized the living dickens out of it, repaterning after draping and repaterning again when sewing. The logo is hand painted, the hood is patterned completely from scratch, and the buttons are handmade. Everything is serged and clean.
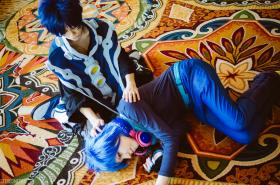
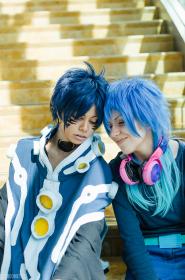
Pants were modified from a waist-high pants pattern, being refitted into skinny jeans several times. The shirt is also made from scratch as is the glove. The glove is a freeform pattern combined with a special bias tape that is a living nightmare of disobedience. The coil is a painted digital watch. The headphones are completely built from scratch starting with a basic plastic headband, then adding two layers of upholstery foam and sealing them in with pleather wrapping. The band was extended with horsehair boning and the 'speakers' are stick and click lights coloured with sharpie to appear blue, then painted over with pink, a wrap of upholstery foam wrapped in upholstery pleather and extra boning sealed with pink pleather attached for design.
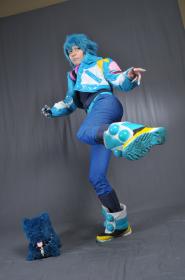
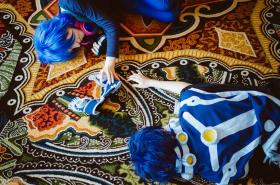
The boots are made from a salvaged pair of pretty destroyed snow boots I couldn't bare to part with. Multiple coats of painting were applied before then sealing the top with white pleather. The balls are half ornaments painted on the inside and sealed onto the pleather.
The leg warmers are also a freeform pattern. Since I didn't have time to knit my set yet, I used the same material as the shirt and added the remaining batting as styling (I forget what that actual form is called in knitting and crocheting) and serged it off.
Ren was made from a heavily heavily modified MLP plush pattern I basically looked at then drew up my own pattern. Ren was surprisingly easy to make, the only time consuming parts being the hand stitching around the tail, ears, and feet. The syringe on his collar is made of fimo clay and metallic paint and the spike collar a shortened old gothic choker.
There's a lot that needs to be fixed and made stronger, but overall I'm fairly pleased with Mk 1. - Personal Thoughts:
- I AM NEVER MAKING THIS JACKET AGAIN!!!!
Wig Details
- How was the wig colored?
- Speedball ink dye
- Styling Notes
- Tried fabric dying only to discover blue fabric dye is the one dye that will not take on an arda wig (lucky me) So I attached the wig with several coatings of blended speedball ink dye and let the base settle. After that I used an extra curly clip from Arda in Ice Blue, straightened it out and fade dyed it. I came to discover the hair shaper razors are my favourite styling tools ever and just now discovered upon redoing the wig, you CAN flat iron a wig after it has been dyed without getting residue on your flat iron! (ノ´ヮ´)ノ*:・゚✧
- Wig Review
- I'm still on the fence about getting a new wig and redoing it entirely. We'll see how things turn out after the restyle. I really like the structure, but I'm iffy on the volume and hate the front. Jeanie wigs are also notorious for being hysterically oversized.
Add a Comment
Photos
-
Photo 1

 0
0  326
326 -
Photo 2
 0 424
0 424 -
Photo 3
 0 356
0 356 -
Photo 4
 0 334
0 334 -
Photo 5
 0 445
0 445 -
Photo 6
 0 367
0 367 -
Photo 7
 0 280
0 280 -
Photo 8
 0 438
0 438 -
Photo 9
 0 392
0 392 -
Photo 10
 0 349
0 349 -
Photo 11
 0 419
0 419 -
Photo 12
 0 316
0 316 -
Photo 13
 0 268
0 268 -
Photo 14
 0 288
0 288 -
Photo 15
 0 302
0 302 -
Photo 16
 0 278
0 278 -
Photo 17
 0 322
0 322 -
Photo 18
 0 314
0 314 -
Photo 19
 0 304
0 304 -
Photo 20
 0 301
0 301 -
Photo 21
 0 301
0 301 -
Photo 22
 0 410
0 410 -
Photo 23
 0 317
0 317
-
 617295 Visitors
 -
- Cosplayer Info
- Costumes Worn
- Costumes Made
- Props
- Wigs
- Items for Sale
- Favorites
- Videos
- Convention History


Sorry, you must be a registered user of and logged in to view and add comments. Either log in or register now!