

ACParadise Network:
American Cosplay Paradise
American Cosplay Experience
American Cosplay Snapshots
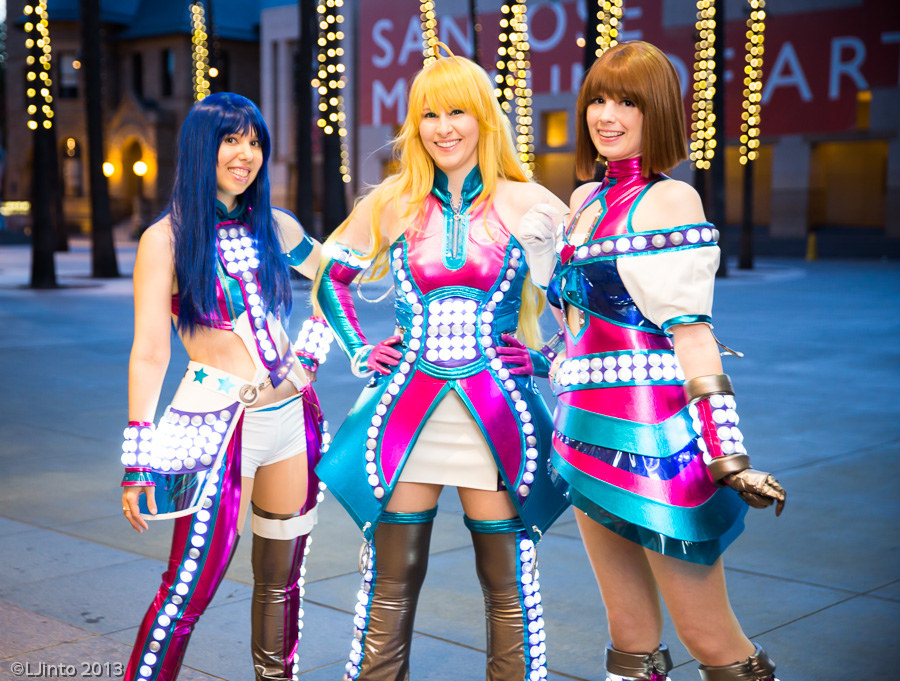
Cosplayer daydreamernessa > Costume of Yukiho Hagiwara (iDOLM@STER)
- Most Recent Photo
- 11-02-2014
- Series
- iDOLM@STER
- Character
- Yukiho Hagiwara
- Special Variation:
- Starry
- Year Completed:
- 2012
- Construction Difficulty:
- Very Difficult
- Awards
- Best in show- Animegacon 2012
About this Costume
- Construction Details:
-
Not sure where to begin so i'll break it into chunks:
First off most aspects of this costume dealt with a lot of unfamiliar techniques and materials for myself- including sewing with metallic spandex which my machine hates with a passion.
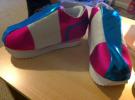
My costume started back in june, i made a mock-up using both fabric and paper. my skirt defies gravity and i wanted to replicate that to a T, and i used this thick interfacing that you can find at joann's. I built the costume into a jumper with shorts + 2 skirts + clear cardigan with all the individual accessories. The center front cut-out is supported by boning to keep it nice and taught. The back also has a cut-out, but i used flesh-tone fabric and installed an invisible zipper, since she has a turtle neck. blue edge trims were heat-n-bonded on and then top-stitched.
The clear cardigan had it's own mock-up, and used similar weights to the clear vinyl i'd be using. My machine skipped stitches like crazy, and i tried to make things sew easier by inserting tissue paper between all the layers so the machine could create stitch into the clear vinyl. The bottom edge of the cardigan has metallic spandex trim, which i made into a binded edge for a clean finish. The top edge of the clear cardigan has boning, so it could support the weight and keep the shape to uphold the cabochons, and light channels.
Special sculpts were made of 'dials/screws' out of casted plastic, that also appear on our Ami's costume which i made enough to share. I could go on, but i'll use the nifty upload progress photo's acp now allows!!!
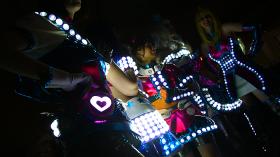
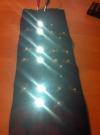
And now copying Sparklepipsi's notes about our lights since all 5 starry girls had the same set-up, the only thing that differed is the amount of lights each girl had my own had 180 individual leds:
Our fearless leader Kie (aka BabySnowLeopard) came up with how to make the lights chase using "lillypad" controllers from sparkfun.com that she programmed herself... pretty freakin rad! She provided the controllers for the group, but each girl had to hand sew each LED to the costume using conductive thread (also from sparkfun.com). We had to number out each LED and sew it to a different conductive thread line depending on where it was in the chase sequence... so there were 5 main conductive thread lines running under each of our light channels, one for each line in the chase + a common positive, all of which connected back to the controller. The SUPER DUPER FUN part about this is that the conductive thread frays like a beast and even the smallest little fiber touching the wrong place could short out a whole line... this is where the nightmare-fueled hell came into play 8D;;
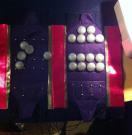
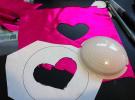
On top of sewing on all the lights, each of the LEDs was covered with a cabochon to create the "bulb" look. Each cabochon was drilled by hand (well, by drillpress... both Angel Hearts team NorCal AND SoCal bought drillpresses for this project, lol). We sprayed them with glitter to 1) make them sparkly and idoltastic and 2) to help diffuse the LED light. They were then glued on top of each LED using E6000.
- Personal Thoughts:
- What was I thinking agreeing to this?!?!? My group angel hearts had been brainstorming since last fall on doing this costume set WITH functional accurate chasing lights. Development of the technique started early this year and the group had hoped to debut at fanime. However due to the complexity and need for lots of trial and error, and testing it was set aside to finish for animegacon. In June I decided to join.... and managed to debut with everyone despite not originally having plans to. With all that said I'm happy with the costume!
Add a Comment


-
 930580 Visitors
 -
- Cosplayer Info
- Costumes Worn
- Costumes Made
- Props
- Wigs
- Favorites
- Videos
- Convention History


Sorry, you must be a registered user of and logged in to view and add comments. Either log in or register now!