

ACParadise Network:
American Cosplay Paradise
American Cosplay Experience
American Cosplay Snapshots
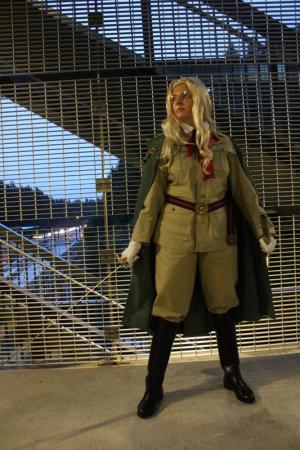
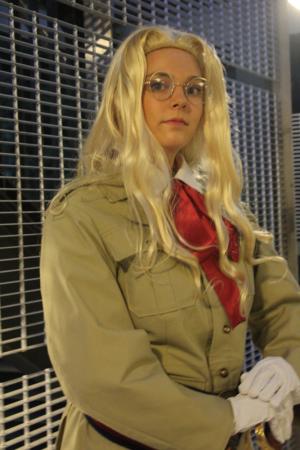
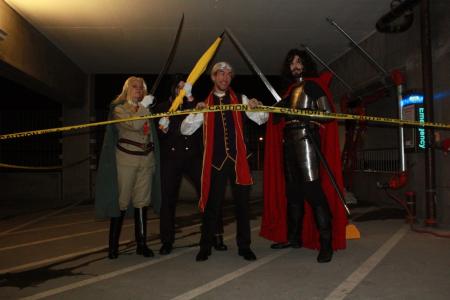
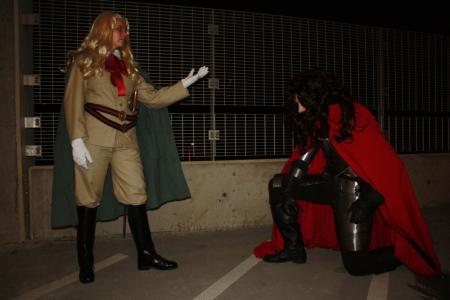
Cosplayer Kurahi > Costume of Sir Integra Fairbrook Wingates Hellsing (Hellsing)
- Most Recent Photo
- 11-05-2010
- Series
- Hellsing
- Character
- Sir Integra Fairbrook Wingates Hellsing
- Year Completed:
- N/A
- Construction Difficulty:
- Easy
- Awards
- Best In Show Runner up (Anime Expo 2010)
- Costume worn at:
- Aki-Con 2010
- Anime Expo 2010
- Sakura-con 2012
About this Costume
- Construction Details:
-
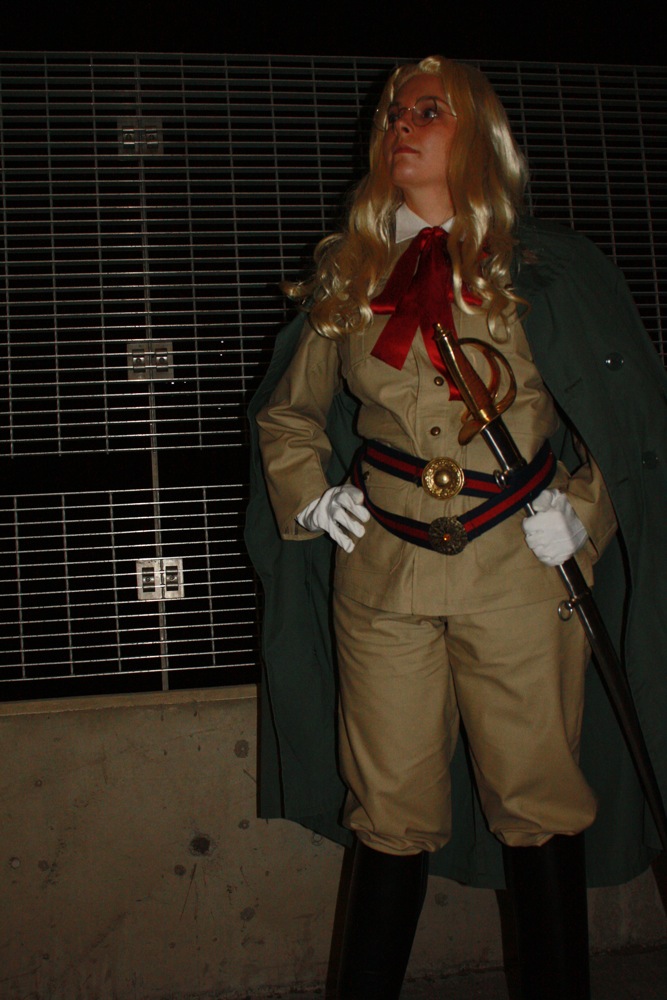
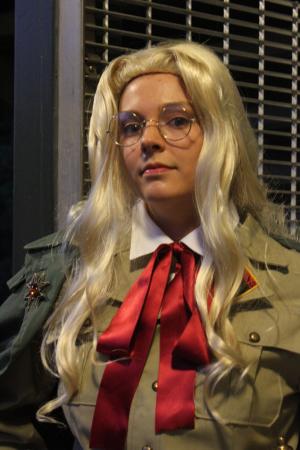
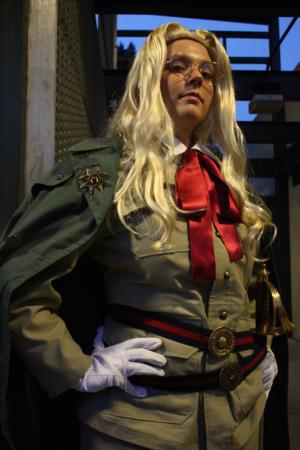
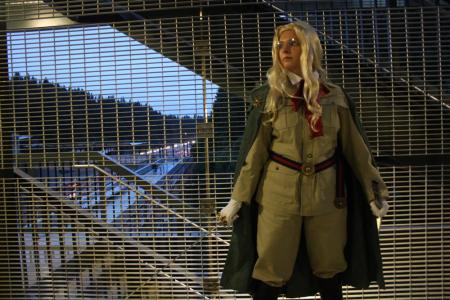
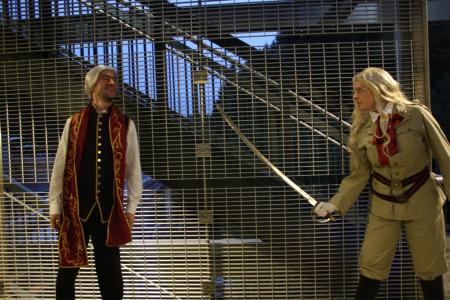
Why I chose this costume: Hellsing has been one of my favorite series since the TV show came out in 2001. Since then I have waited with baited breath for each manga volume and OVA episode to be released. Integra has always been my favorite character from the show because of her authoritative demeanor, mental toughness, and drive to get the job done no matter what. The version I chose: The best I can describe this version is some type of officer’s field uniform. I found that this particular outfit is very similar to WWII British Officers’ uniforms. However it is not a dress uniform per say so I imagine it might actually be worn out into battle. The Costume Jacket The pattern I used for the jacket was Folkwear pattern #130, The Australian Bush Outfit. Because of Australia’s British roots the pattern was a (nearly) perfect match for Integra’s look. The pattern pieces were all traced off from the original Folkwear pattern so they could be modified as needed. There were two major style modifications that had to be done to the jacket. The first were the sleeve cuffs. Integra’s outfit has none in the OVA so the cuffs and sleeve pleats had to be removed from the pattern. The second were the lapels. They were too small to accommodate the Hellsing insignia patch so the lapels were enlarged. First a muslin mock-up was made to ensure a good fit. When the muslin was made, it was discovered that the jacket was slightly too big and the shoulder seam was too long. This resulted in extra fabric hanging off the shoulder. The armhole was then tailored to remove the excess fabric and ensure a proper fit. The darts and side seams were taken in slightly. Fitting the armhole was much more difficult because it involved altering the front, back, yolk, and sleeve pieces as well as having adjust the collar curve because the shoulder seem needed to be shortened. The sleeves needed to be lengthened due to the removal of the cuffs. Also, the sleeves needed to be taken in due to the pleats not being sewn. All exposed edges were finished with a serger/overlock machine. The waistband, pocket flaps, jacket facing, and collar were all interfaced. Just about everything needed to be topstitched for durability reasons. The last thing you want in battle is to have your slip-stitched hem come undone! Topstitching is also present in the reference pictures. Trousers The trousers were fairly straight forward. They were made according to the pattern except for the exclusion of the back and lower side pockets as well as substituting the waist band. The side pocket was removed because it is not present in the reference pictures and the back pockets had to be removed due to time constraints. There are two functioning side pockets at the hip. The waistband was created from a custom shaped waistband sloper I had created for myself. The waistband in the pattern was VERY tall (aprox. 3”) and had a built-in belt. It would have looked bulky and ill-fitting due to it not being shaped. I have a small waist so all waistbands need to be shaped in order for a proper fit. The trouser has a button-fly and also has a hook-and-eye at the waistband. The pants were left loose fitting for movement purposes. Our skit involves a lot of dancing! Also the reference pictures show that there is bagginess around the needs resulting in a slight “poof” effect. Pants were hemmed according to my height. Trench Coat I had bought a dark green cotton twill to construct my own trench coat but sadly, I ran out of time. I bought this vintage men’s coat off of Esty and accessorized it. Wig The wig was purchased from cosworx. It was styled with heat and a lot of hairspray to make Integra’s signature bangs. Colored Contacts My eyes are naturally brown so colored contacts were needed to finish the look. Ascot/Necktie The ascot was constructed of silk ribbon. It was tied like regular bow and pulled into place to match the reference pictures. Pins All of the pins were antique/vintage pins purchased from Etsy. Patch The patch was purchased from a seller on deviantArt. Belts The belts were purchased from beltoutlet.com (see picture below). The belt buckles were purchased from Etsy. However the belts came with the wrong buckle. The previous buckles were detached and the vintage buckles were sewn on. They were then shortened and a grommet was hammered in so the belt buckles would have something to hook onto. The double wrap belt was made by taking two of the belts and riveting them together at the hip. Boots The boots were purchased from horse.com Gloves & Glasses Both the glasses and gloves were purchased from a local costume store.
- Personal Thoughts:
- Given how short on time I was I think this came out very well and I am happy with it. I just need to get some more pictures!!!
Add a Comment

-
 194493 Visitors
 -
- Cosplayer Info
- Costumes Worn
- Costumes Made
- Props
- Wigs
- Items for Sale
- Favorites
- Videos
- Convention History


Sorry, you must be a registered user of and logged in to view and add comments. Either log in or register now!