

ACParadise Network:
American Cosplay Paradise
American Cosplay Experience
American Cosplay Snapshots
Cosplayer VintageAerith > Costume of Millie (Helluva Boss)
- Most Recent Photo
- 12-24-2024
- Series
- Helluva Boss
- Character
- Millie
- Special Variation:
- Default
- Year Completed:
- 2023
- Construction Difficulty:
- Difficult
- Costume worn at:
- Katsucon 2023
About this Costume
- Construction Details:
-
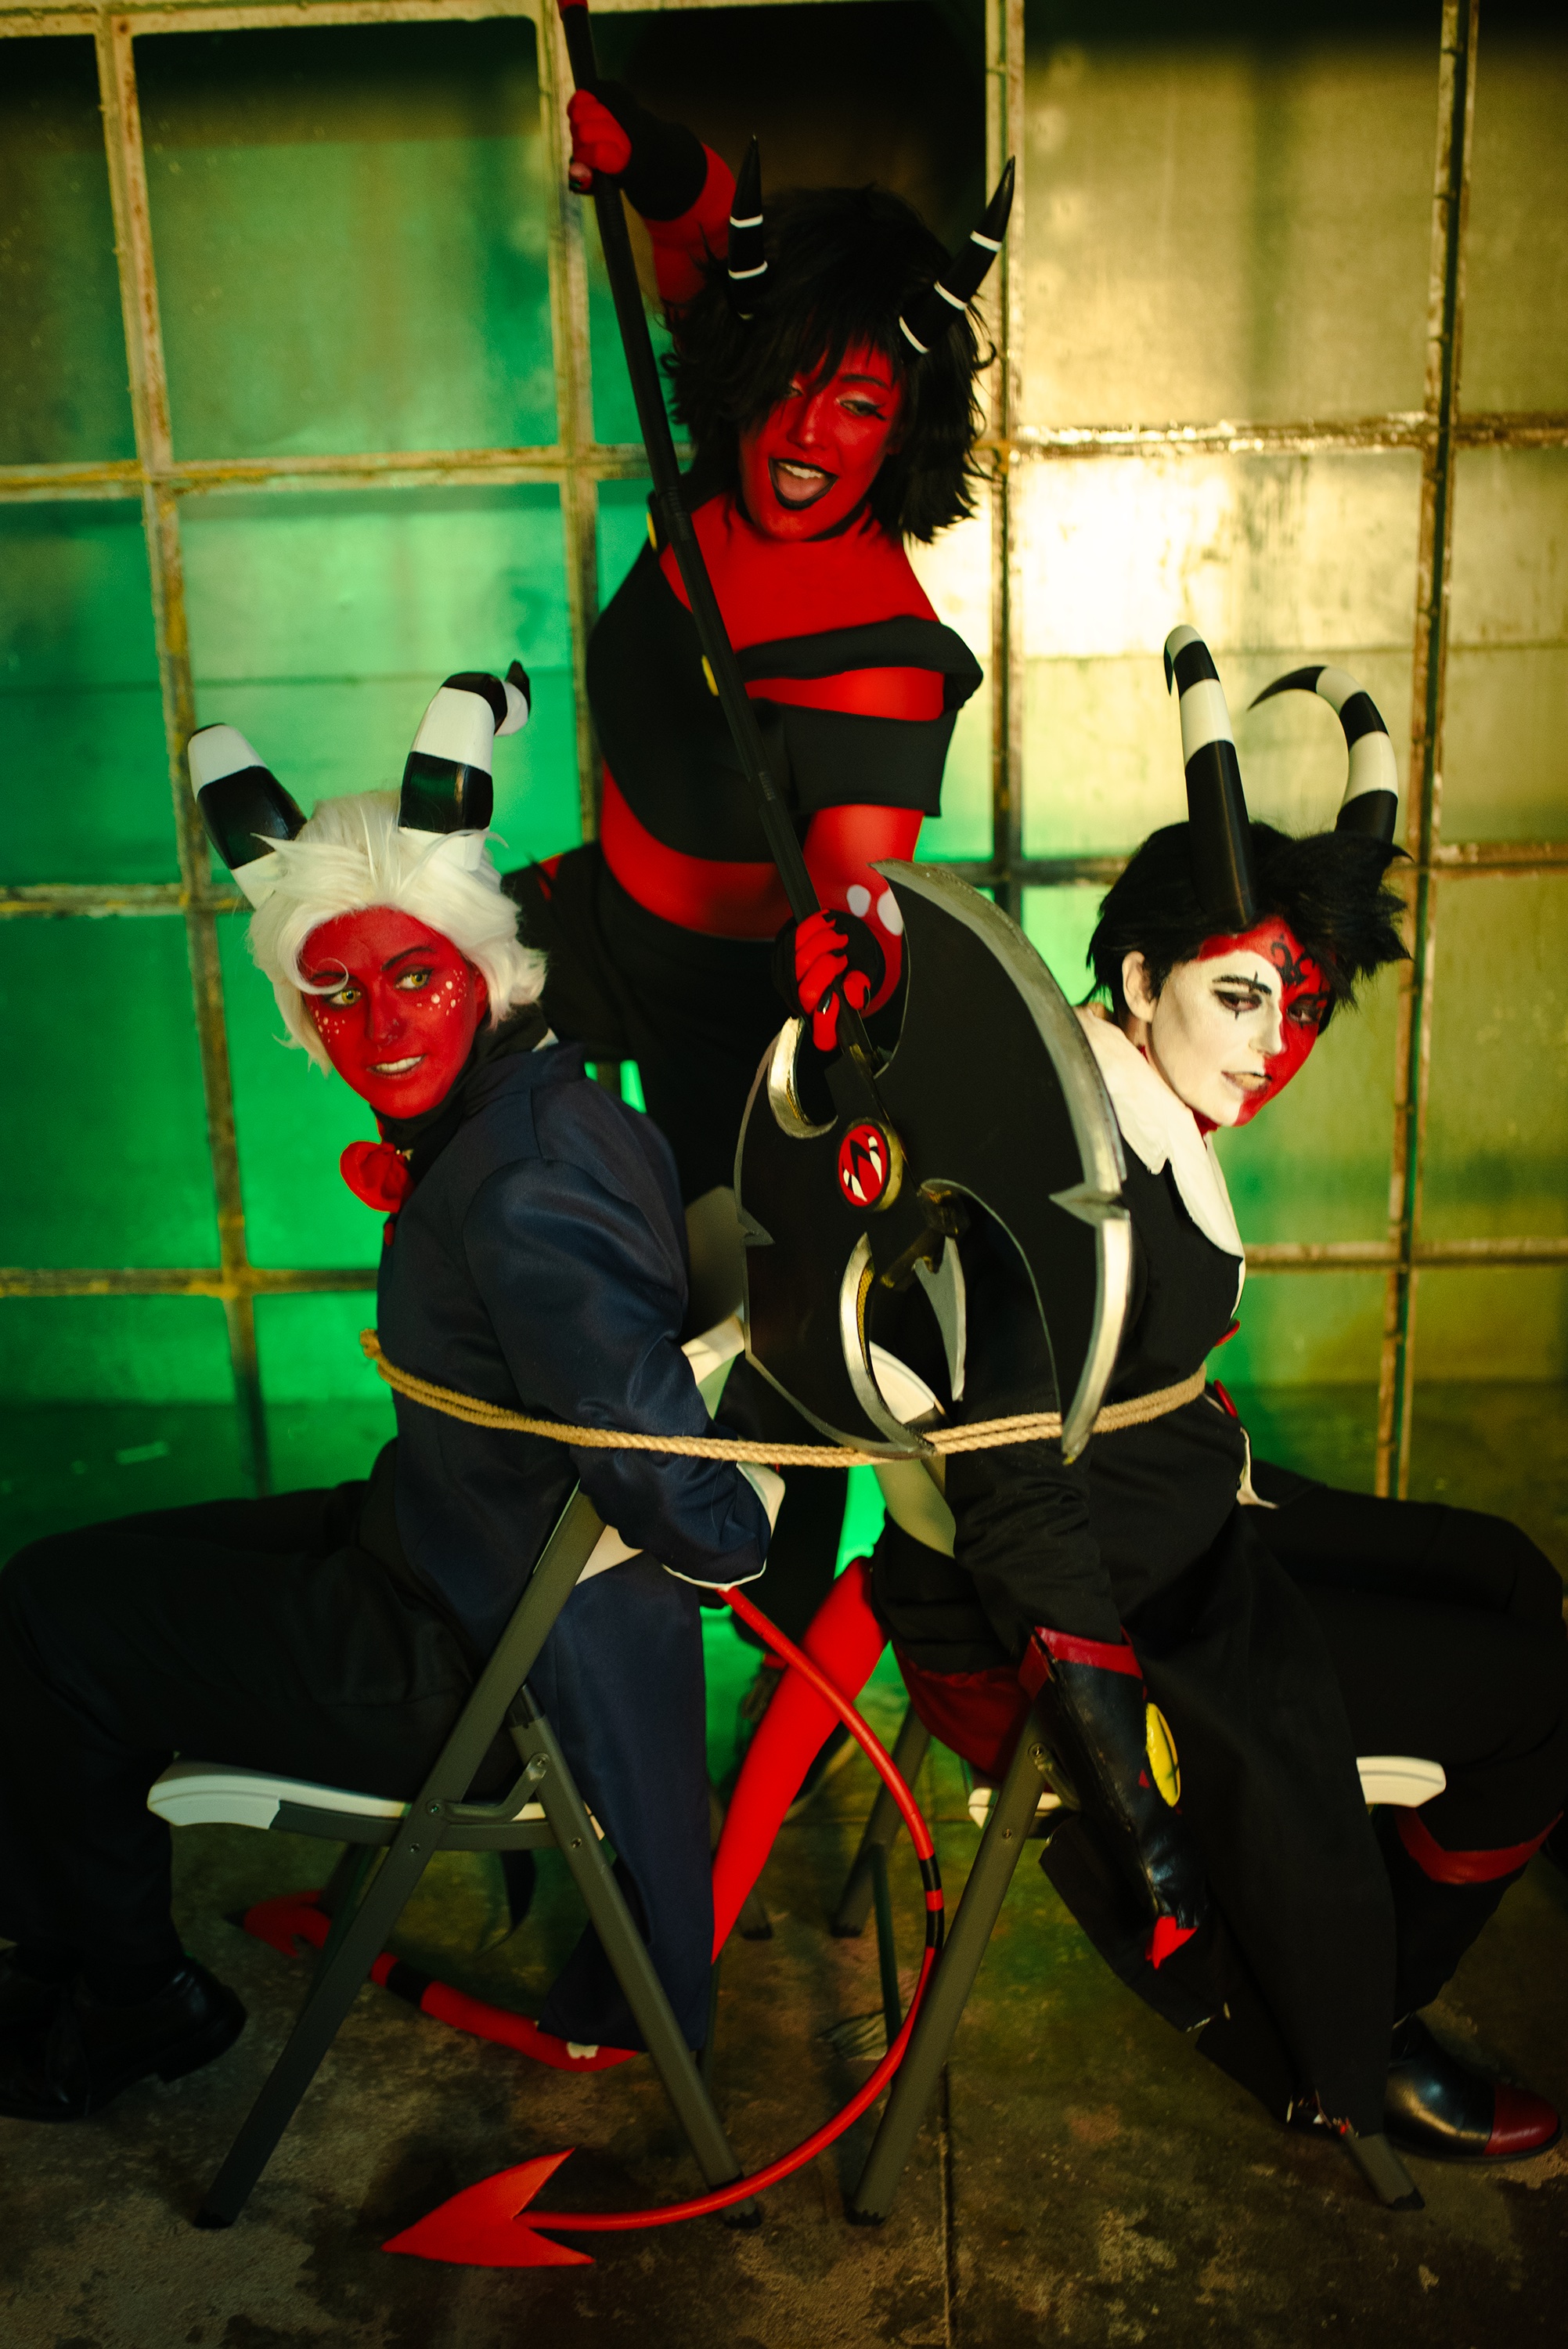
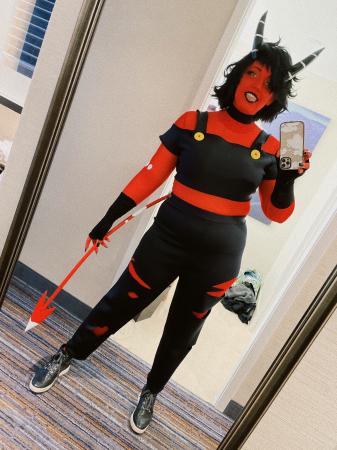
SHIRT AND PANTS: Scuba!! I wanted the fabric to be able to stand up to the triangular slashes in the pants without extra support or interfacing, plus it does not easily wrinkle and has a cartoony matte finish to it. My serger kept getting hung up on it, so it's all done with a zigzag stitch on my regular machine. Shirt was from a pattern that already had the perfect silhouette, pants were hand-drafted based on my measurements.
RED BODYSUIT: I bought a few different red tights and red mesh tops from Amazon, kept the ones that matched best, and combined a turtleneck top with tights. I used heat-n-bond on black and white fabrics to iron on her heart tattoo and white birthmarks. My choker holds up the neck of the turtleneck to help make it seamless with the body paint on my face and neck, and ends at the wrists underneath my wrist gauntlets with body paint on my fingers.
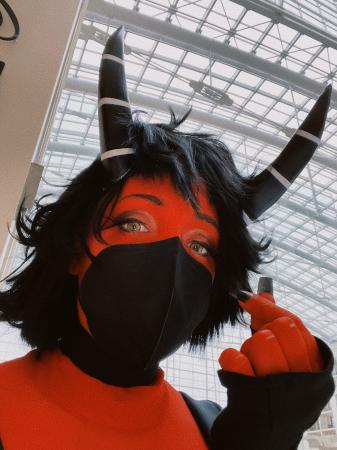
HORNS AND TAIL: I used Yaya's eva foam dowels from Joanns and glued two together for length. I cut the forked tail end of thicker eva foam and contact cemented the two together, and dremeled the edges to be smooth. Two coats of red Plastidip, spray paint, and then a matching acrylic paint to be exact to my bodysuit. I mounted the originating end to a piece of rectangular worbla, sandwiched the dowel in it, and then attached some velcro. I sewed a loop of pants elastic with velcro on the inside and wear the tail 'upside down' against the body to help give it lift. The horns were more of a process--used an Etsy pattern to cut and put them together out of eva foam, then filled seams with foam clay and dremeled the seams to be rounder. Even after several layers of plastidip, the dremel marks were weirdly obvious, so I ended up slicking on 6-7 layers of mod podge with the grain intentionally moving along the length of the horn as if the mod podge ridges were a 'bone' look'. This made it easier to paint and finish, though I may sand and mattify them a bit more in the future. I used palladium magnets in a soft headband worn on my head and in the base of the horns to be able to adjust their placement and avoid breakage if I collide with anything.
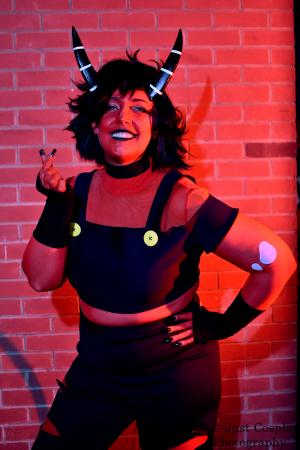
MAKEUP: Mehron Paradise AQ makeup in Beach Berry, applied with a sponge. Set with Mehron color fixer powder. Beauty Bakerie liquid lipstick in black. Morphe's Jacklyn Hill palette on the eyes. Il Makiage liquid eyeliner. Feather eyelashes. - Personal Thoughts:
- I love you, hon. but for fUCK'S SAAAAAKE
Wig Details
- Styling Notes
- Had to hack off a lot of bulk, and heat-set a new part, but after that it was easy to style flips with a flat iron.
Add a Comment

-
 1502285 Visitors
 -
- Cosplayer Info
- Costumes Worn
- Costumes Made
- Props
- Wigs
- Favorites
- Videos
- Convention History


Sorry, you must be a registered user of and logged in to view and add comments. Either log in or register now!