

ACParadise Network:
American Cosplay Paradise
American Cosplay Experience
American Cosplay Snapshots
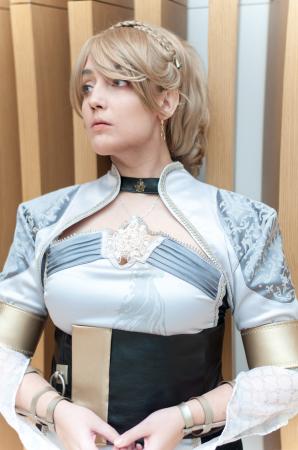
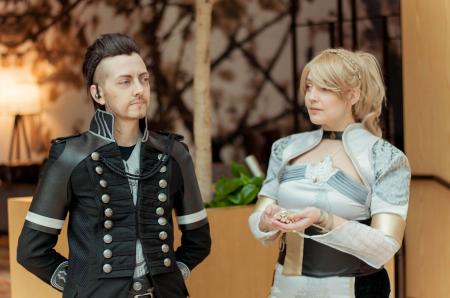
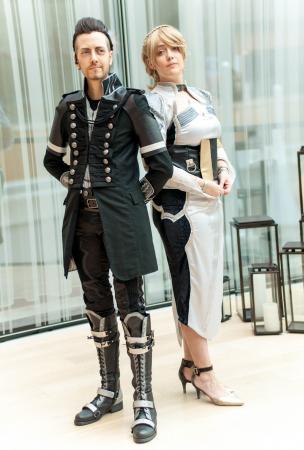
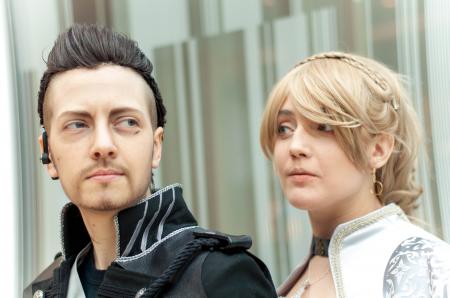
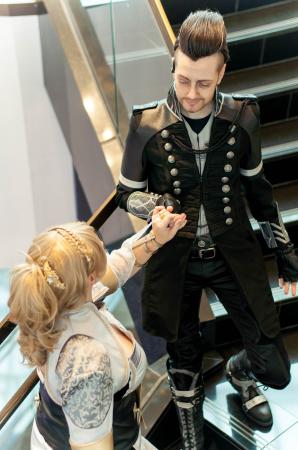
Cosplayer VintageAerith > Costume of Lunafreya Nox Fleuret (Final Fantasy XV)
- Most Recent Photo
- 12-22-2019
- Series
- Final Fantasy XV
- Character
- Lunafreya Nox Fleuret
- Special Variation:
- Kingsglaive
- Year Completed:
- 2018
- Construction Difficulty:
- Difficult

About this Costume
- Construction Details:
-
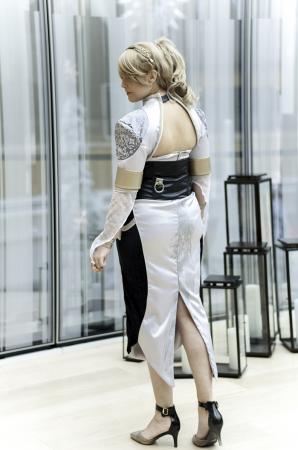
BOLERO
The shoulder pieces were the hardest part of the costume for sure. I made a paper pattern that I translated to muslin that appeared to work, but once constructed, i actually found that the shoulders were too perky. I overcorrected in my desire to not have them be saggy, so after studying the design and the movement in the movie over the next year, I concluded the most structurally sound way to make this part of the costume was to just make a full sleeve seam bolero. I made 5 or 6 muslin mockups of a bridal bolero working closer to the silhouette I wanted, then drew the area where I wanted the cutout, and vectored the pattern and sized it onto the pieces once scanned. I had my friend Stef silkscreen the pattern onto the darker satin with a puffing agent, then constructed the bolero as front-back-sleeve pieces. I interfaced everything and also made serged facing for the front and back, then attached the braiding cord and the leather choker piece.
The armbands are craft foam covered in vinyl and zig-zag stitched in place for texture at the top and bottom.
The sleeves, once again I vectored the pattern and had my friend Stef silkscreen them in silver ink onto chiffon. I serged the edges and did a double-rolled hem and attached them to a ring of elastic at the ends.
TOP
I determined the top piece had pin tucks instead of pleats as I'd originally thought, so I sewed these together before making a fully faced and topstitched border for a purchased vintage lace accent for the center piece. Once tacked together using mesh, I faced the top of all layers and then stitched the silver trim on. The sides are cut from stretch patterned velvet and the top finishes just inside the corset as a separate piece from the skirt.
CORSET
I took the measurements of my ribcage, waist, and upper hips and drew the pattern out from scratch, leaving a couple seams for boning channels. I sewed a separating zipper into the right side of the front so that I could then attach a separate, decorative flap for ease of getting in and out. I spray-painted some metal drawer pulls and used an awl to screw them into the front and back of the corset. I hand-attached snaps for closure.
SKIRT
I faced the silkscreened pieces in more of the same silver, then cut a full piece of stretch velvet that would work as a front and back piece and topstitched the silver to the velvet. I cut away the excess on the inside. I did the same with the back, only stitching the back pieces down to about the knee level so that it would still have a split vent. Once the skirt was assembled, I stretched the sides over my ironing board and used paper to pattern the abstract shapes that cross the hips. I heat and bonded the same silver fabric so it wouldn't fray and carefully topstitched it to the black velvet, then added gold trim everywhere needed. I added elastic to the top for comfort.
ACCESSORIES
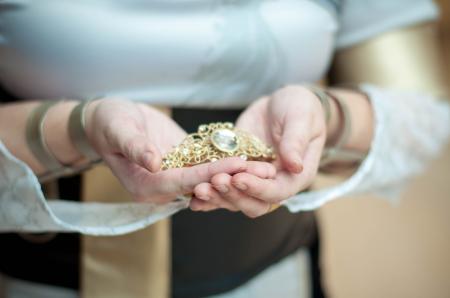
Still in progress, but i made the arm cuffs out of worbla and spray painted them. The earrings were hand-tooled together by me. Shoes are still in progress.
Add a Comment

-
 1492188 Visitors
 -
- Cosplayer Info
- Costumes Worn
- Costumes Made
- Props
- Wigs
- Favorites
- Videos
- Convention History


Sorry, you must be a registered user of and logged in to view and add comments. Either log in or register now!