

ACParadise Network:
American Cosplay Paradise
American Cosplay Experience
American Cosplay Snapshots
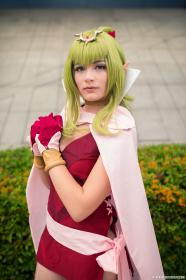
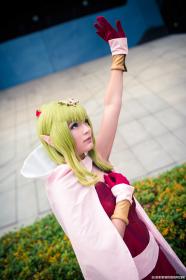
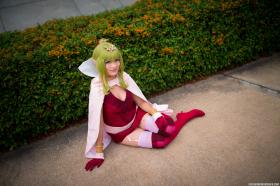
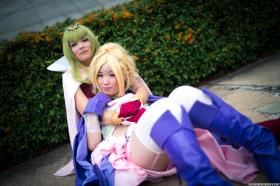
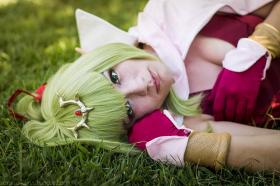
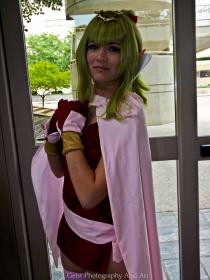
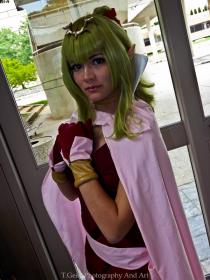
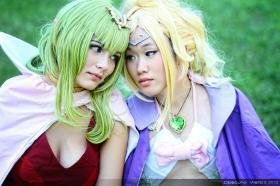
Cosplayer Lauren Hibs > Costume of Tiki (Fire Emblem: Awakening)
- Most Recent Photo
- 09-06-2013
- Series
- Fire Emblem: Awakening
- Character
- Tiki
- Year Completed:
- 2013
- Construction Difficulty:
- Normal
- Costume worn at:
- Otakon 2013

About this Costume
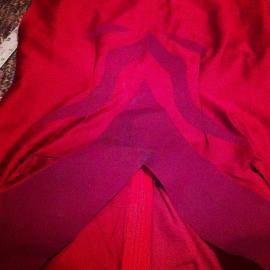
- Construction Details:
-
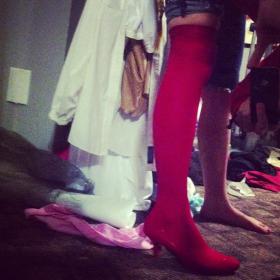
I ended up completely "blind" pattering the dress and had to remake it twice before I was happy/it could fit over my shoulders/chest w/o being huge everywhere else. I used heatnbond to put the dress designs on and then stitched over the shoulder ones to keep them down (and to hem the neckline and sleeves). I also ended up not using a pattern for the cape, so it came up not as wide as I wanted, but I didn't have the time or fabric (or patience) to completely remake it.
I made the garters by attaching ribbon to stockings, not realizing that I should have used elastic, and then attached them to a skinny stretch belt. I used a tutorial found on tumblr on making boots using pumps and stockings for the boots, and then attached the cuffs to the stockings. The gloves and boot-stockings were soaked in a red/brown mix to try and get them closer to the dress colour (since my several attempts at making gloves failed). I made the glove cuffs and attached them to the gloves and then hemmed them closer once the gloves were on. The armbands were made from a stretch suede that I soaked in a gold ink to give it a more saturated colour, and then roll hemmed the edges a few times for the bump. The gold pieces on the sash, and the necklace were made from the same material. I used a pink ribbon to do the lacing on the side of the dress, and made teh sash from the same pink fabric (my bow was a fake bow though). I last minute died the wig a more saturated green using FW ink and the dunk method. The hairpiece was made from Model Magic over a craft foam base, and painted gold with nail polish, and then a red rhinestone added.
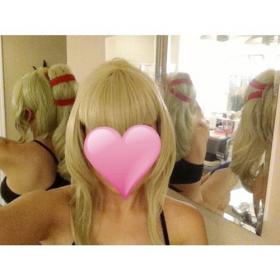
Wig Details
- How was the wig colored?
- FW ink and dunking method
Add a Comment
Photos
-
Photo 1
 0
0  1745
1745 -
Photo 2
 0 848
0 848 -
Photo 3
 0 908
0 908 -
Photo 4
 0 882
0 882 -
Photo 5
 0 727
0 727 -
Photo 6
 1 725
1 725 -
Photo 7
 0 953
0 953 -
Photo 8
 0 734
0 734 -
Photo 9
 0 787
0 787 -
Photo 10
 0 638
0 638 -
Photo 11
 0 575
0 575 -
Photo 12
 0 887
0 887 -
Photo 13
 0 726
0 726 -
Photo 14
 0 722
0 722 -
Photo 15
 0 755
0 755 -
Photo 16
 0 1156
 -
Photo 17
 0 743
0 743 -
Photo 18
 0 606
0 606 -
Photo 19
 0 608
0 608
-
Photo 1
 0 719
0 719 -
Photo 2
 0 608
0 608 -
Photo 3
 0 657
0 657 -
Photo 4
 0 784
0 784 -
Photo 5
 0 560
0 560
-
 1010292 VisitorsAce's Pick: 04/2017
 -
- Cosplayer Info
- Costumes Worn
- Costumes Made
- Props
- Wigs
- Favorites
- Convention History


Sorry, you must be a registered user of and logged in to view and add comments. Either log in or register now!