

ACParadise Network:
American Cosplay Paradise
American Cosplay Experience
American Cosplay Snapshots
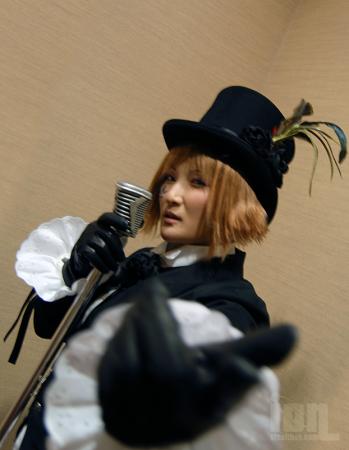
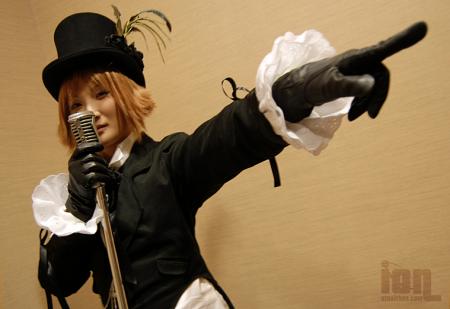
Cosplayer Ion > Costume of Drocell (Black Butler)
FOR SALE ( Only)
Minimum Price: $100
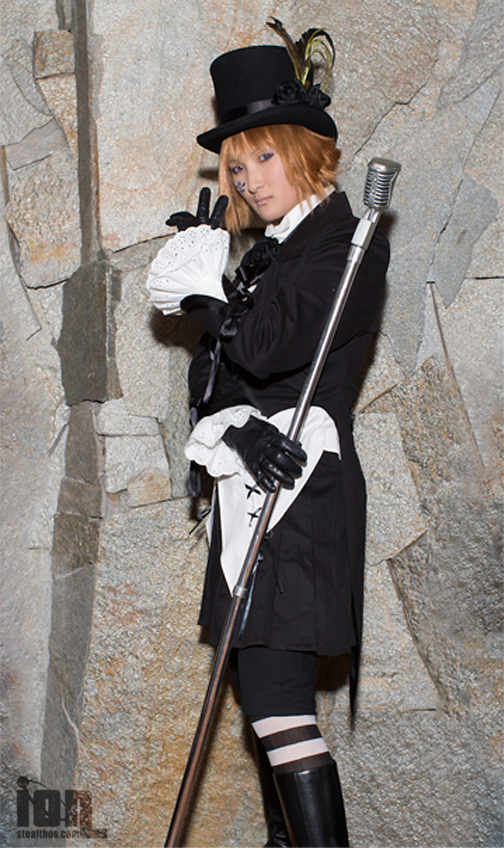
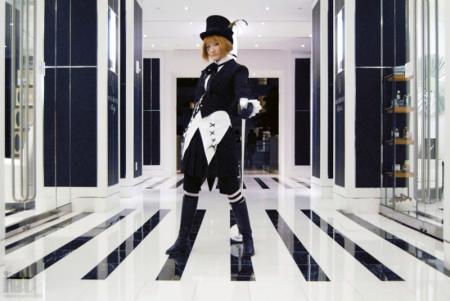
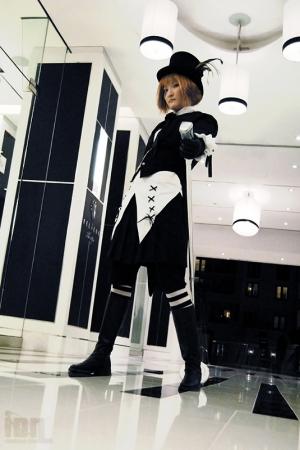
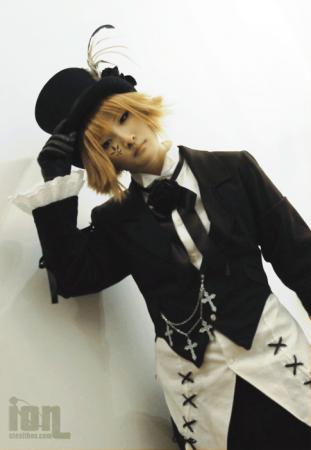
Includes: Jacket, shirt, pants w/ half-skirt, striped leggings, rose neck tie, rose hat band, black gloves, wig, and mic prop. All you need is a pair of tall black boots and a top hat. Shipping not included - will ship internationally.
- Most Recent Photo
- 06-26-2012
- Series
- Black Butler
- Character
- Drocell
- Special Variation:
- Visual Kei
- Year Completed:
- N/A
- Construction Difficulty:
- N/A
- Awards
- Honorable Mention - AUSA 2010
- Costume worn at:
- Anime USA 2010
- Katsucon 2011
About this Costume
- Construction Details:
-
From the artbook! So, for AUSA 2010 I made Drocell's Visual Kei version sans the rest of the band. It was awkward without them, but fun to wear nonetheless. What can you do when the group drops out. I need to get more up to date shots of this costume since I put a lot of work into it. Sadly the photos were taken by the poor soul I handed my D200 to who had never handled a DSLR nor done hobby photography, hahah. I also was a little out of my mind and exhausted so these pics could be much better. Next shoot at Katsucon 2011. Construction details: So basically I had 6 yards of sueded twill I bought 5+ years ago intending to make some super comfy hakama despite it not being the best choice for said garments. Skip ahead 5+ years and I decided that Drocell's visual kei outfit was a perfect project to sacrifice the fabric on. Using my trusty collection of vintage patterns I found one for a woman's blazer from the 80's. Even though I cut the pattern to the smallest size, it was still baggy a la 80's fashion. After tailoring it down and adding darts in the back, it started to look more fitted and polished. In my infinite wisdom, I lined the jacket with black taffeta to give it more body, as if sueded twill needs more body hurhur. I also forced myself to learn how to do facings on the jacket because you can't just fake lapels and a collar. I used a blazer I wear for work as a reference and learned how to add facings in with the lining. Time consuming as I made mistakes, but it looks really nice and definitely adds shape and a "finished" look to the jacket. I also learned to do button holes, which sound simple, but I had been avoiding them for ages. I wanted to hack up an old tuxedo shirt for the white shirt, but nothing I own comes close to having the two tales at the front like that so I grumbled a lot and made mine from scratch. Referencing said tuxedo shirt and using yet another fabulous 80's blouse pattern, I constructed the white shirt and bust out the ivory-like buttons for the shirt. This also had facings in it and a tab collar which I modeled after my tux shirt too. I'm quite happy with how it came out, it looks really professional. Here again, I had to do some significant tailoring because the styles of the 80's were baggy but I knew I would as the pattern was 3 sizes too large to start from. The ruffles are detachable for easy washing. I bought embroidered ruffle fabric and added my beloved tiny box pleats to add some "puffiness". The biggest headache for this shirt was the eyelets. I could not find white eyelets in any store so I spray-painted my silver ones to white. After messing around with the eyelet pliers that I bought ages ago and totally mashing them in a disgusting way, I found a vintage eyelet setter that is just a piece of metal with a small indentation for the top of the eyelet. It worked better than any modern tool I've handled. Yay for functional antiques! The skirt and pants combo were... interesting to make. For the pants, I totally bust out an 80's sweat pant pattern, the pants required far less modification and I added darts and a side zip instead of elastic at the waist because the waist band might show. I was running short of the sueded twill fabric for the skirt so I made knife pleats and made them narrow. The fun part was nuking them with spray starch. After about 10 applications, the pleats finally stayed sharp... perhaps a little too sharp. It feels like I'm wearing boat canvas when I sit down or bend, lol, but the pleats will not go anywhere! I actually made the pants out of a different fabric because there wasn't enough left of my original stuff. Thankfully they color-matched fairly well. I stupidly stitched the pants and skirt together as well for easy wear and so that they would not shift when being worn... however... it also will make maintenance/cleaning a pain. Anyway, perhaps one of the more fun parts of this was working on the flowers. I used synthetic fabric, cut the general petal shape, melted the edges, gathered the fabric, and rolled them into roses. Melting things is fun, especially when not destructive! The mic is another epic adventure. I based it off a real vintage mic, the Calrad DM-16H.L which only means something to collectors and audio junkies. Anyway, I made the mic itself from insulation foam, covered in black fabric, plastic canvas, phone cord for the detailing, and coated things in school glue for a super smooth finish. The bottom part of the mic is wood. The mic stand is 2 pieces of pvc pipe wrapped in chrome paper, covered in cellophane. The base is a mini frisbee I received at Katsucon 2010 and it is weighted with a CD spindle complete with enough CDs to keep the frisbee off the ground but looking like it touches. Other interesting junk I threw in was pieces of Ramune bottles and mini blinds. The best part about this prop is that I finally "got it together" and made this easy to transport. The microphone is removable, the stand comes apart in several places, and all together, it can fit into a yoga bag.
Add a Comment

-
 345540 Visitors
 -
- Cosplayer Info
- Costumes Worn
- Costumes Made
- Props
- Wigs
- Items for Sale
- Favorites
- Convention History


Sorry, you must be a registered user of and logged in to view and add comments. Either log in or register now!