Lulu/Vash help
Posted: Tue Feb 19, 2008 2:51 pm
So I'm going to Otakon this year, and cosplaying definately as Lulu, and possibly as Ed Elric or Vash the Stampede (the manga version).
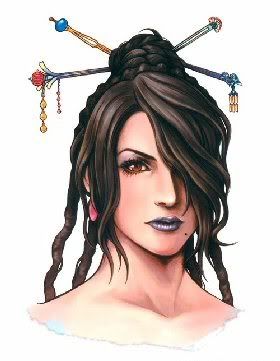
Lulu (FFX):
http://www.armchairempire.com/images/fe ... tasy-x.jpg
http://i16.photobucket.com/albums/b28/R ... X_28-1.jpg
Ed (FMA):
http://images.stage6.com/channel_images ... d19d60.jpg
Vash the Stampede (Trigun):
http://www.lovelovesugar.com/vash/main.jpg
no good manga pics of the coat, but you get the idea
http://www.yale.edu/anime/imgarchive/Tr ... wanted.jpg
vash gun:
http://www.geocities.com/arwen_lite/Gun ... r_Vash.jpg
http://www.d3.dion.ne.jp/~iwase_m/impulse/vash_gun2.jpg
http://www.d3.dion.ne.jp/~iwase_m/impulse/vash_gun3.jpg
I have the base dress for Lulu made, but any ideas on the lace-y trim around the edges? and also I need help on the hair pieces. I'm just gonna buy a bunch of belts from a thrift store for the front
I also have Ed's coat made, but I need help with the automail. I have ready access to sheet metal, and little to no access to the appropriate tools =\ I have the pants and some combat boots, and the shirt/vest thing will be relatively easy.
For Vash, it's all an idea at this point, but I found the glasses cheap as hell, and I'm gonna get these:
http://www.hottopic.com/hottopic/store/ ... 3461172892
boots, and I need help with the pants and gloves. Also, if it's not overly hard , I'd like to do the outfit that he wears under the trench (sorry, couldn't find pics)
ooh, and also anyone know how to make a gun? if not, where to buy Vash's gun cheap?
Any ideas on patterns I could alter for the Vash coat? (I'm decent at altering patterns, just nothing TOO complex)
Thanks in advance for any and all help =D