

ACParadise Network:
American Cosplay Paradise
American Cosplay Experience
American Cosplay Snapshots
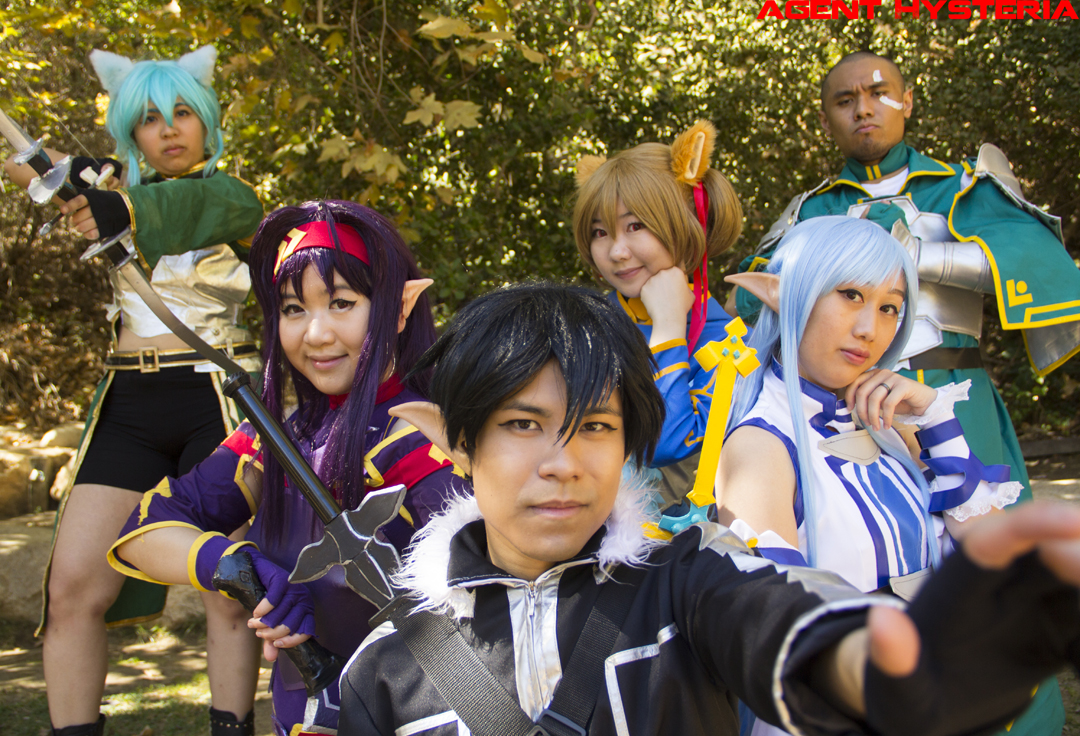
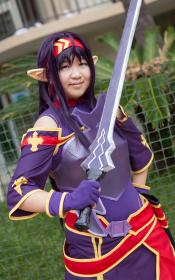
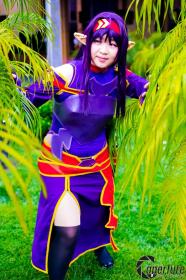
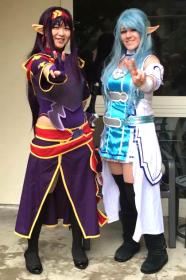
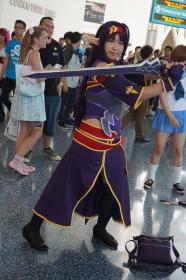
Cosplayer angelywen > Costume of Konno Yuuki (Sword Art Online)
- Most Recent Photo
- 01-06-2017
- Series
- Sword Art Online
- Character
- Konno Yuuki
- Year Completed:
- 2014
- Construction Difficulty:
- Difficult
- Costume worn at:
- Anime LA 2015
About this Costume
- Construction Details:
-
~40 hrs logged (merely an estimation, probably took longer than that)
Top is a more stretchy knit material that is basically an extremely high-cut one piece. It zips in the back and attaches with a hook at the neckline. The arm and leg holes are lined w/ thin gold ribbon.
The sleeves…are probably the part I’m most proud of, haha. They are attached to the one piece with snaps (two in front, two in back) that are positioned in such a way that I can reach them myself (believe it or not, I can get this entire costume on w/o any help). Basically it’s two sleeves plus the back piece attached by a red strip. And then all of the bias tape, which was quite a feat to sew on =_= I made a pattern for the crosses on the sleeves and hand-sewed them on.
I did make the gloves myself, using the same stretchy material as the one piece (someone asked me if I had just cut the fingers off a pair of gloves~nope!).
The two belts are attached to each other~the longer one velcros to the one around the waist on the side. The belt buckle is made of craft foam layered w/ Modge Podge, spray paint, and then this DecoArt Metallic Lustre thing (idk if I’d recommend using it in the future, though). It attaches the two sides of the belt with snaps.
The armor/breastplate is craft foam with fabric backing which I painted with Modge Podge and then purple and silver spray paint. The edges are painted with the Metallic Lustre thing from earlier. It attaches in the back with velcro, and the back piece of the sleeves goes over it so you can’t really see where it attaches.
Skirt is a 1/4 circle skirt made of a cotton/polyester blend with a triangle cut out of it for the front. It’s partially sewn together there and attaches with a hook at the hips. There is velcro on one side to attach the red…cross thing (not sure what this is exactly) which I had to hand sew wire into to get it to look less…floppy? There’s also velcro for the loop for the sword sheath because the belts couldn’t support the weight of the sword when sheathed w/o pulling the entire belt down.
The sword sheath is made of thin cardboard covered w/ black fabric. It loops around the belts and attaches to the skirt, but can be removed without compromising the appearance of the costume (a precaution I took in case I didn’t want to have the weight of a sword on me all day. And also because Yuuki isn’t wearing it in some scenes).
The sword is made of multiple pieces of posterboard which were puzzle pieced together (posterboard was leftover from my scissorblade), wrapped in tape for sturdiness, paper mache’d, and covered in layers of Modge Podge. The detailing on the hilt and stuff are craft foam. The hilt was spray painted black, and the blade was spray painted silver, left to dry, then taped off and spray painted purple.
Headband is red fabric with golden bias tape glued to it. I was originally going to attach it to the wig for an easier time, but it ended up not being that hard to keep in place.
The elf ears are also handmade~I followed this tutorial on YouTube: https://www.youtube.com/watch?v=aHSR9FrmYCI
Contrary to the Youtube tutorial, though, these ears actually stayed on all day at con without any sort of adhesive. I just stuck them on my ears and they stayed on (probably would’ve fallen off if I accidentally bumped them against anything, but luckily that didn’t happen).
Wig Details
- Wig Brand
- Match Wigs
- Wig Name
- Daron
- Original Color:
- Purple
- Styling Time
- ~4 hrs maybe
- Wig Quality Rating
- 5 / 5.00
- Styling Notes
- Getting the bangs to stay up properly was a challenge. My first attempt involved rollers and a blowdryer. That failed miserably. Next I attempted to tie off ponytails on top to give it height, but it ended up looking kind of ridiculous. So I finally ended up using copious amounts of hairspray to keep it in place.I used bobby pins to hold up the hair and fan it out a bit, then attacked it w/ hairspray. I'm mostly satisfied w/ how it turned out, though I suppose it could use just a bit more height.
- Wig Review
- By far the nicest wig I've ever owned. It did get ridiculously tangled after walking around the convention for a day, but that's to be expected of long wigs.
Add a Comment


Sorry, you must be a registered user of and logged in to view and add comments. Either log in or register now!